I Love You, but not You

Tags

, , , , , ,

Don’t hate me because I love Roundup. I have way too much work to do. If I decide that some particularly loathsome vegetation needs to go away, I don’t have time to be nice about it. So this morning when I was out raining death on burdock while carefully avoiding the dainty forget-me-nots growing just as wildly in the same area, I thought, “What’s up with that?”

IMG_2770

Why is one plant intolerable and another welcome to live here with me as it pleases? There’s no rhyme nor reason to it. I don’t kill dandelions. I rather like them, actually. Crabgrass in the lawn? No Problem. It’s green, right? And why do roses get all the glory, thorny old things?

Who decides what goes and what’s worth protecting?

For over ten years, Tim and I have parented a child we met when he was just a little guy. He’d already had a tough life by then, and we wanted to help make it better. Some things have been better, but mostly it’s been hard. Really hard. “Good thing he’s so handsome,” well-meaning friends sometimes say, as though his striking good looks could be of any value when he’s suspended from school. Again.

IMG_2766

Caring for a child who takes everything out of you and gives back almost nothing can be a lonely business. I don’t fault anyone who doesn’t understand why we keep trying. I didn’t get it, either, until I fell in love with this boy who wasn’t born to me. As exhausted and discouraged and sad as we are, I am so grateful that, when I first saw this child, I did not turn my face away.

So, who decides what’s worth protecting?

I do.

IMG_2755

Advertisement

The One That Got Away

Tags

, , , , , ,

I walked by the back stairs where the last of the pumpkins are stored and saw this. THIS did not happen overnight. When was the last time I checked the pumpkins?

IMG_2315

I do not like to waste food. I’m not talking about the lost-in-the-back-of-the-refrigerator kind of wasted food. That happens to us all from time to time. I’m talking about the I-planted-weeded-mulched-watered-harvested kind of waste. We grow food to eat and to give away, and if we have too much to eat before it spoils, I should give more away, for goodness sake.

This is the season of starting seeds in the house, and I am throwing pumpkin into the compost bin. Blaah.

 In the interest of cooking every remaining pumpkin today, let’s make soup.

IMG_2354

Pumpkin Cranberry Soup
2 Tablespoons Butter
1 cup Onion, chopped
6 cups Pumpkin, peeled and cubed
3 cups Vegetable Broth
1/2 teaspoon Salt (or more to taste)
Black Pepper to taste
1/4 teaspoon Ground Cinnamon
1/8 teaspoon Ground Ginger
1 can Whole Berry Cranberry Sauce (or 2 cups homemade)

Cook onion in butter until tender.

IMG_2356

Add pumpkin, broth, salt, pepper, cinnamon and ginger. Bring to a boil, then cover and reduce heat to low until pumpkin is tender.

IMG_2367

Puree in a blender. Return to pot. Stir in cranberry sauce and reheat slowly.

For a similar soup, substitute sweet potato or squash for the pumpkin. For a heartier soup, add 1 cubed potato to cook with the pumpkin. Stir in several tablespoons of light cream to pureed soup before reheating.

IMG_2410

This lovely, creamy soup is true comfort food. Make it tonight and enjoy, and for goodness sake, give some away.

Tap Tap Tap

Tags

, , , , , ,

Sugar maples were on the must-have list when we searched for a place in northern Maine to call home, so when the realtor’s ad specified “mature trees”, we asked our son, who lived nearby, to go out to have a look around.

He was a good sport, our Sam. From Connecticut we scoured online listings, then sent Sam hither and yon, on one fact-finding mission after another. They were all wild goose chases until the day he called to report, “I think this property might be it. The house feels just right. There’s an old orchard with apples on the trees, but no sugar maples. I’m sorry, Ma.”

You know the story – love at first sight. An empty house needed a family, and a homesick family longed to own land again and to plant something.

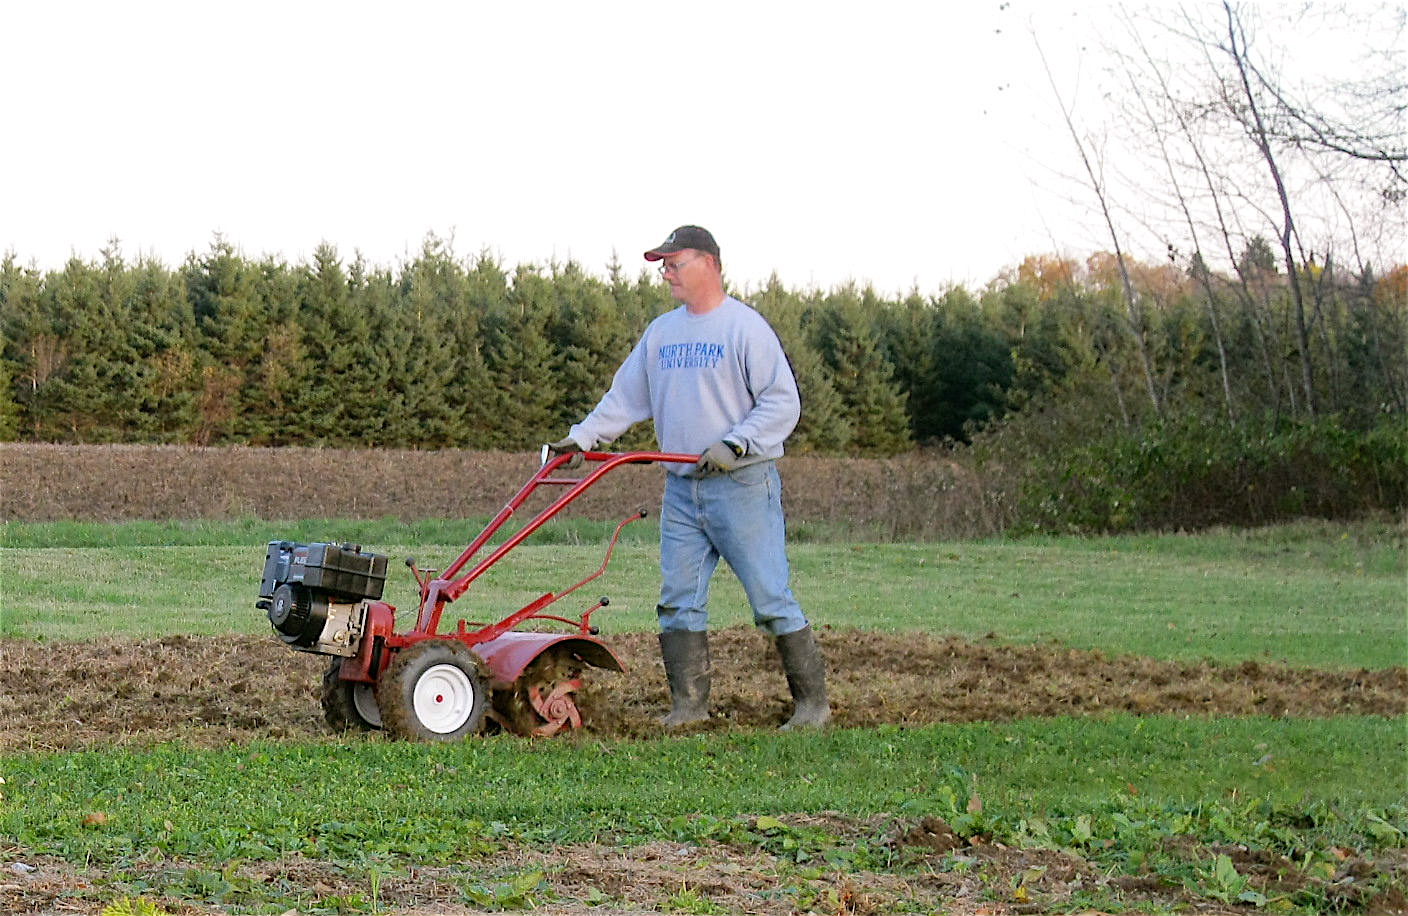
And so we planted trees that first spring, five apple trees and two sugar maples. Sam and I raced as we each dug a hole for the maples – although I don’t recall who won, such was the exuberant laughter. With the trees in the ground and a bit of land tilled for a first garden, the family settled in.

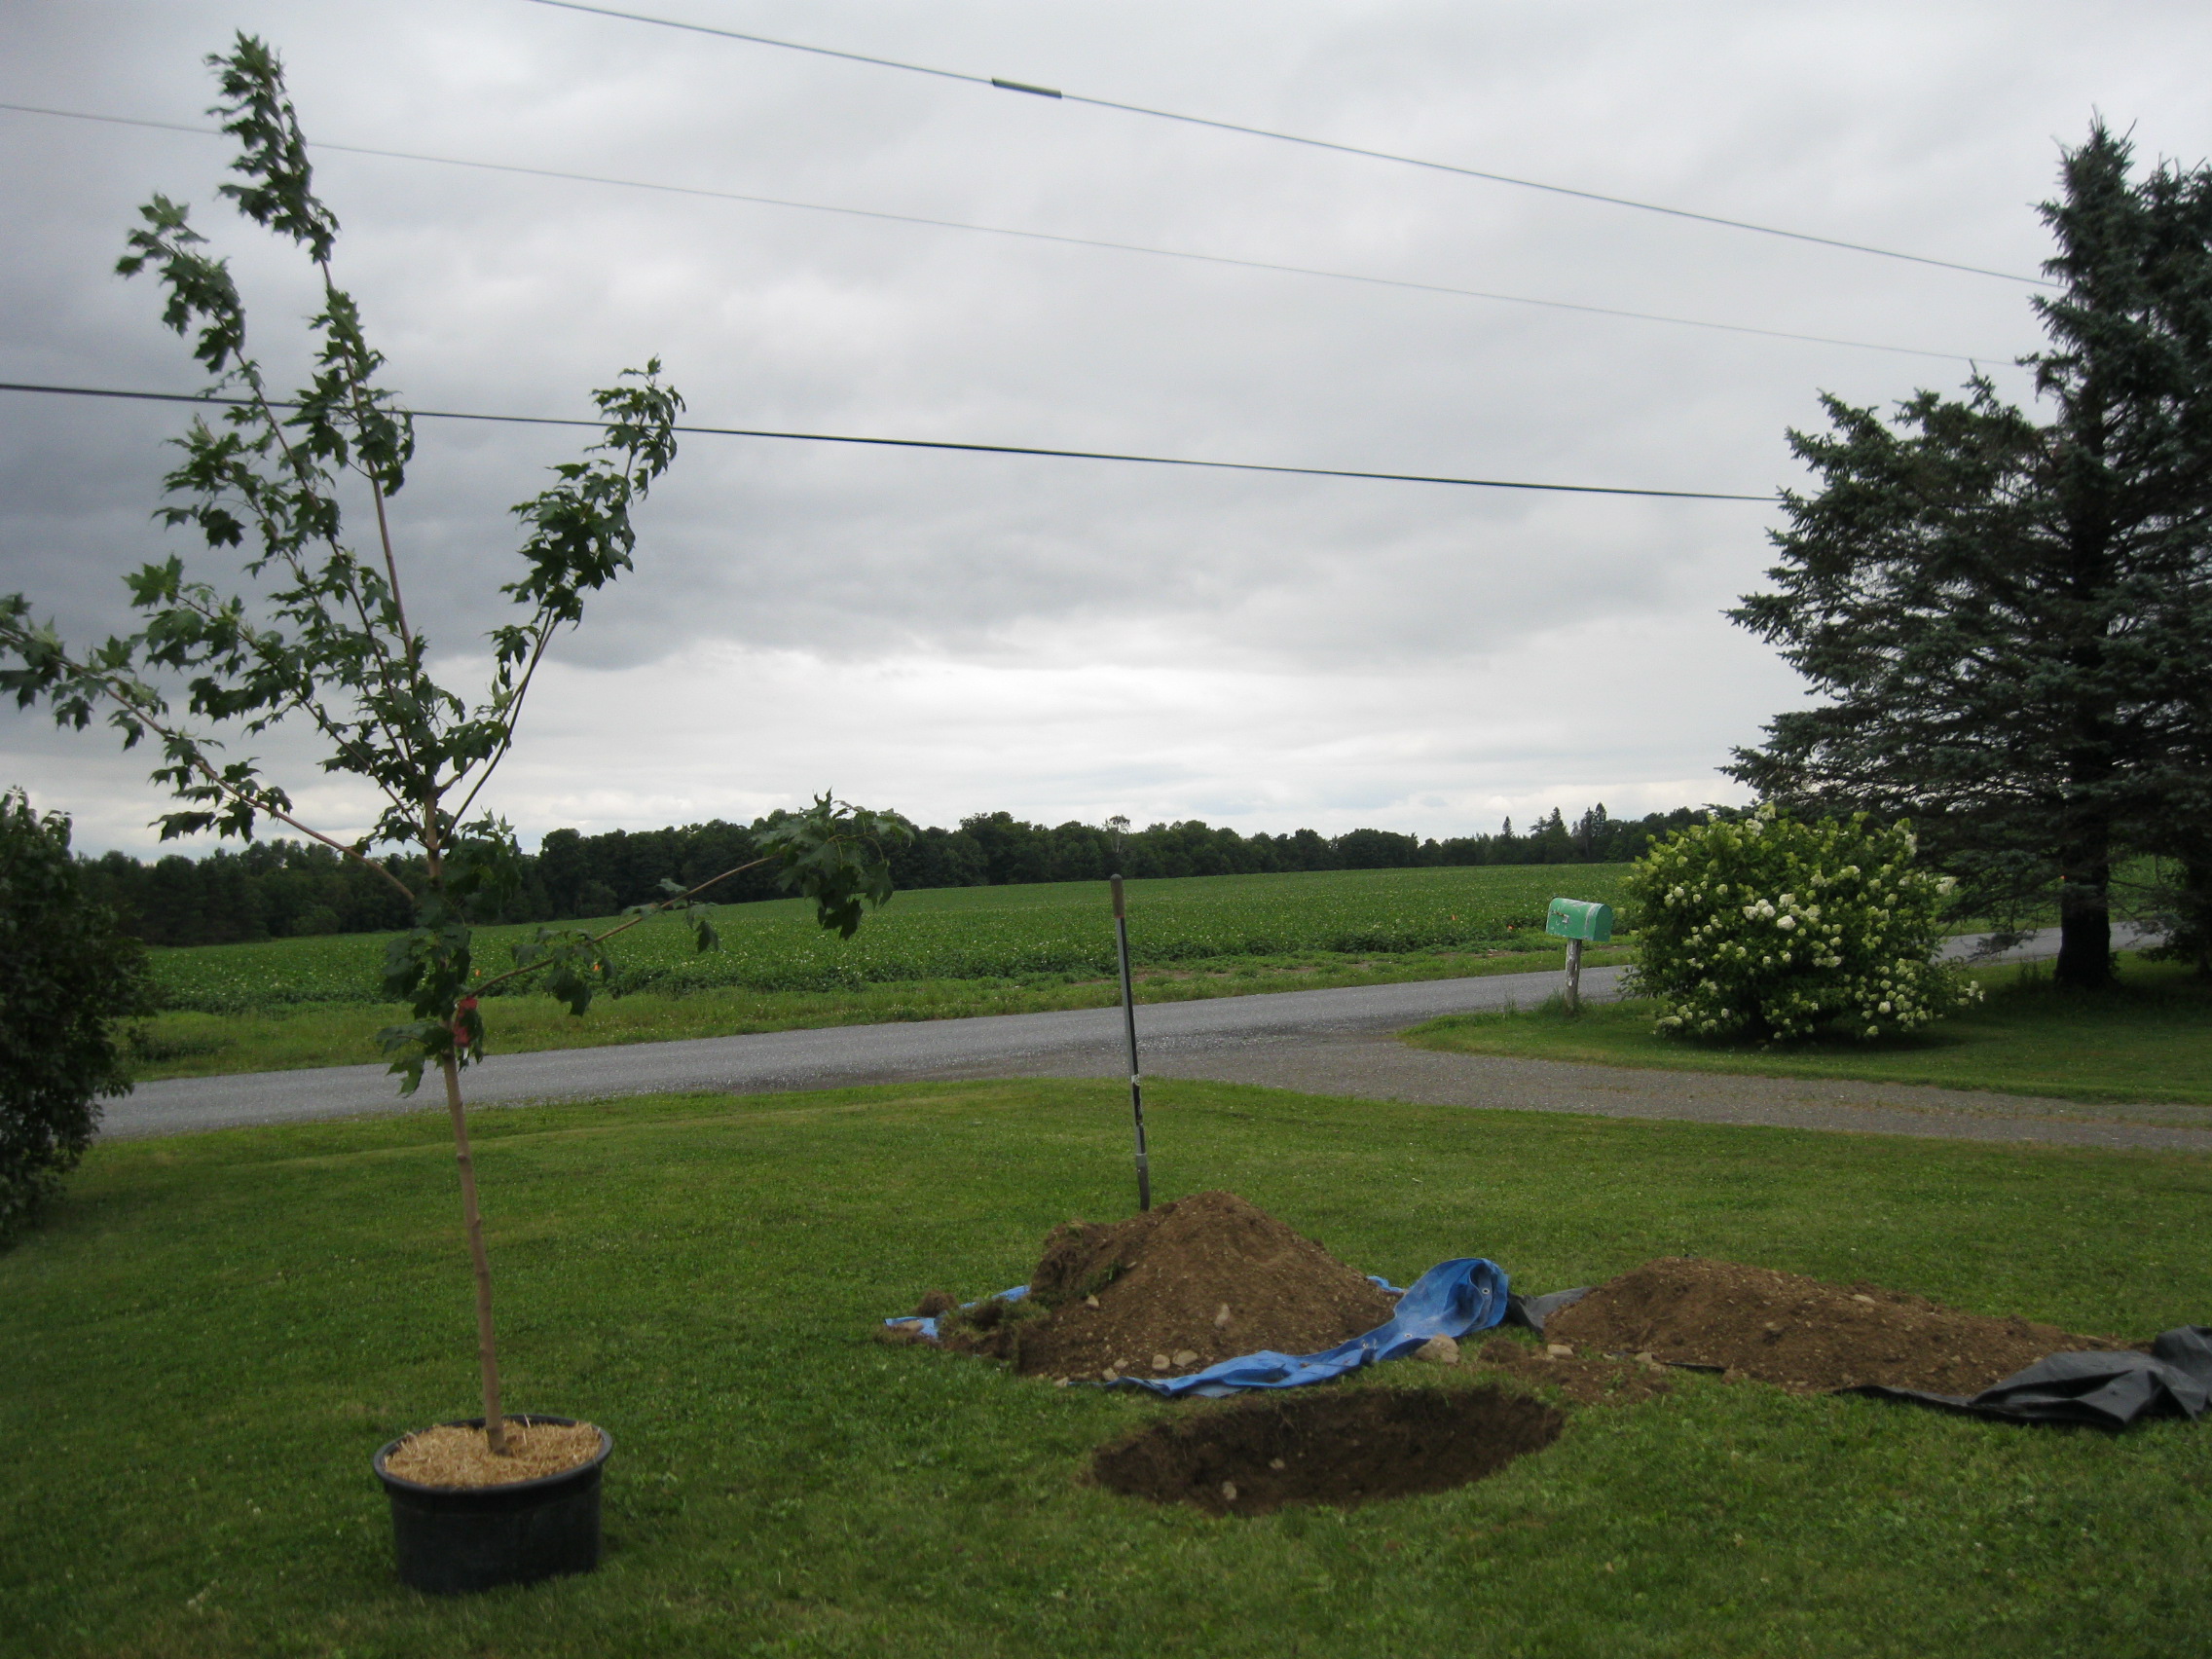
Last summer we decided to take down a dying spruce and plant a third sugar maple in its place. We bought the tree and brought it home. Knowing it would have to survive in the container until we returned from a trip, we hauled it to the east side of the house to protect it from the wind and the afternoon sun. We mulched the pot deeply with Premium Ground Cover (www.PremiumGroundCover.com), gave it a long drink, and went away for a week. When we returned, the tree looked great and the soil was still damp. Then we planted.

IMG_0461

How to Plant a Tree:

1. Determine the purpose of your tree – shade, privacy, food, ornamental. Choose a healthy tree hardy to your zone. Beware of signs of disease and insect damage, stress from lack of adequate moisture, or a tree which is wobbly in its pot or root ball.

2. As you choose your planting location, be mindful of the sun or shade needs of your tree. Consider how windy, wet or dry the environment tends to be. Know the height and width of the mature tree. Maintain an appropriate distance from overhead wires, structures, pools, roadways and gardens which you don’t want shaded. When you think you’ve chosen your spot, place the tree there, then go into your house and look out the windows to be certain the tree will not obstruct any desired views as it grows taller and wider.

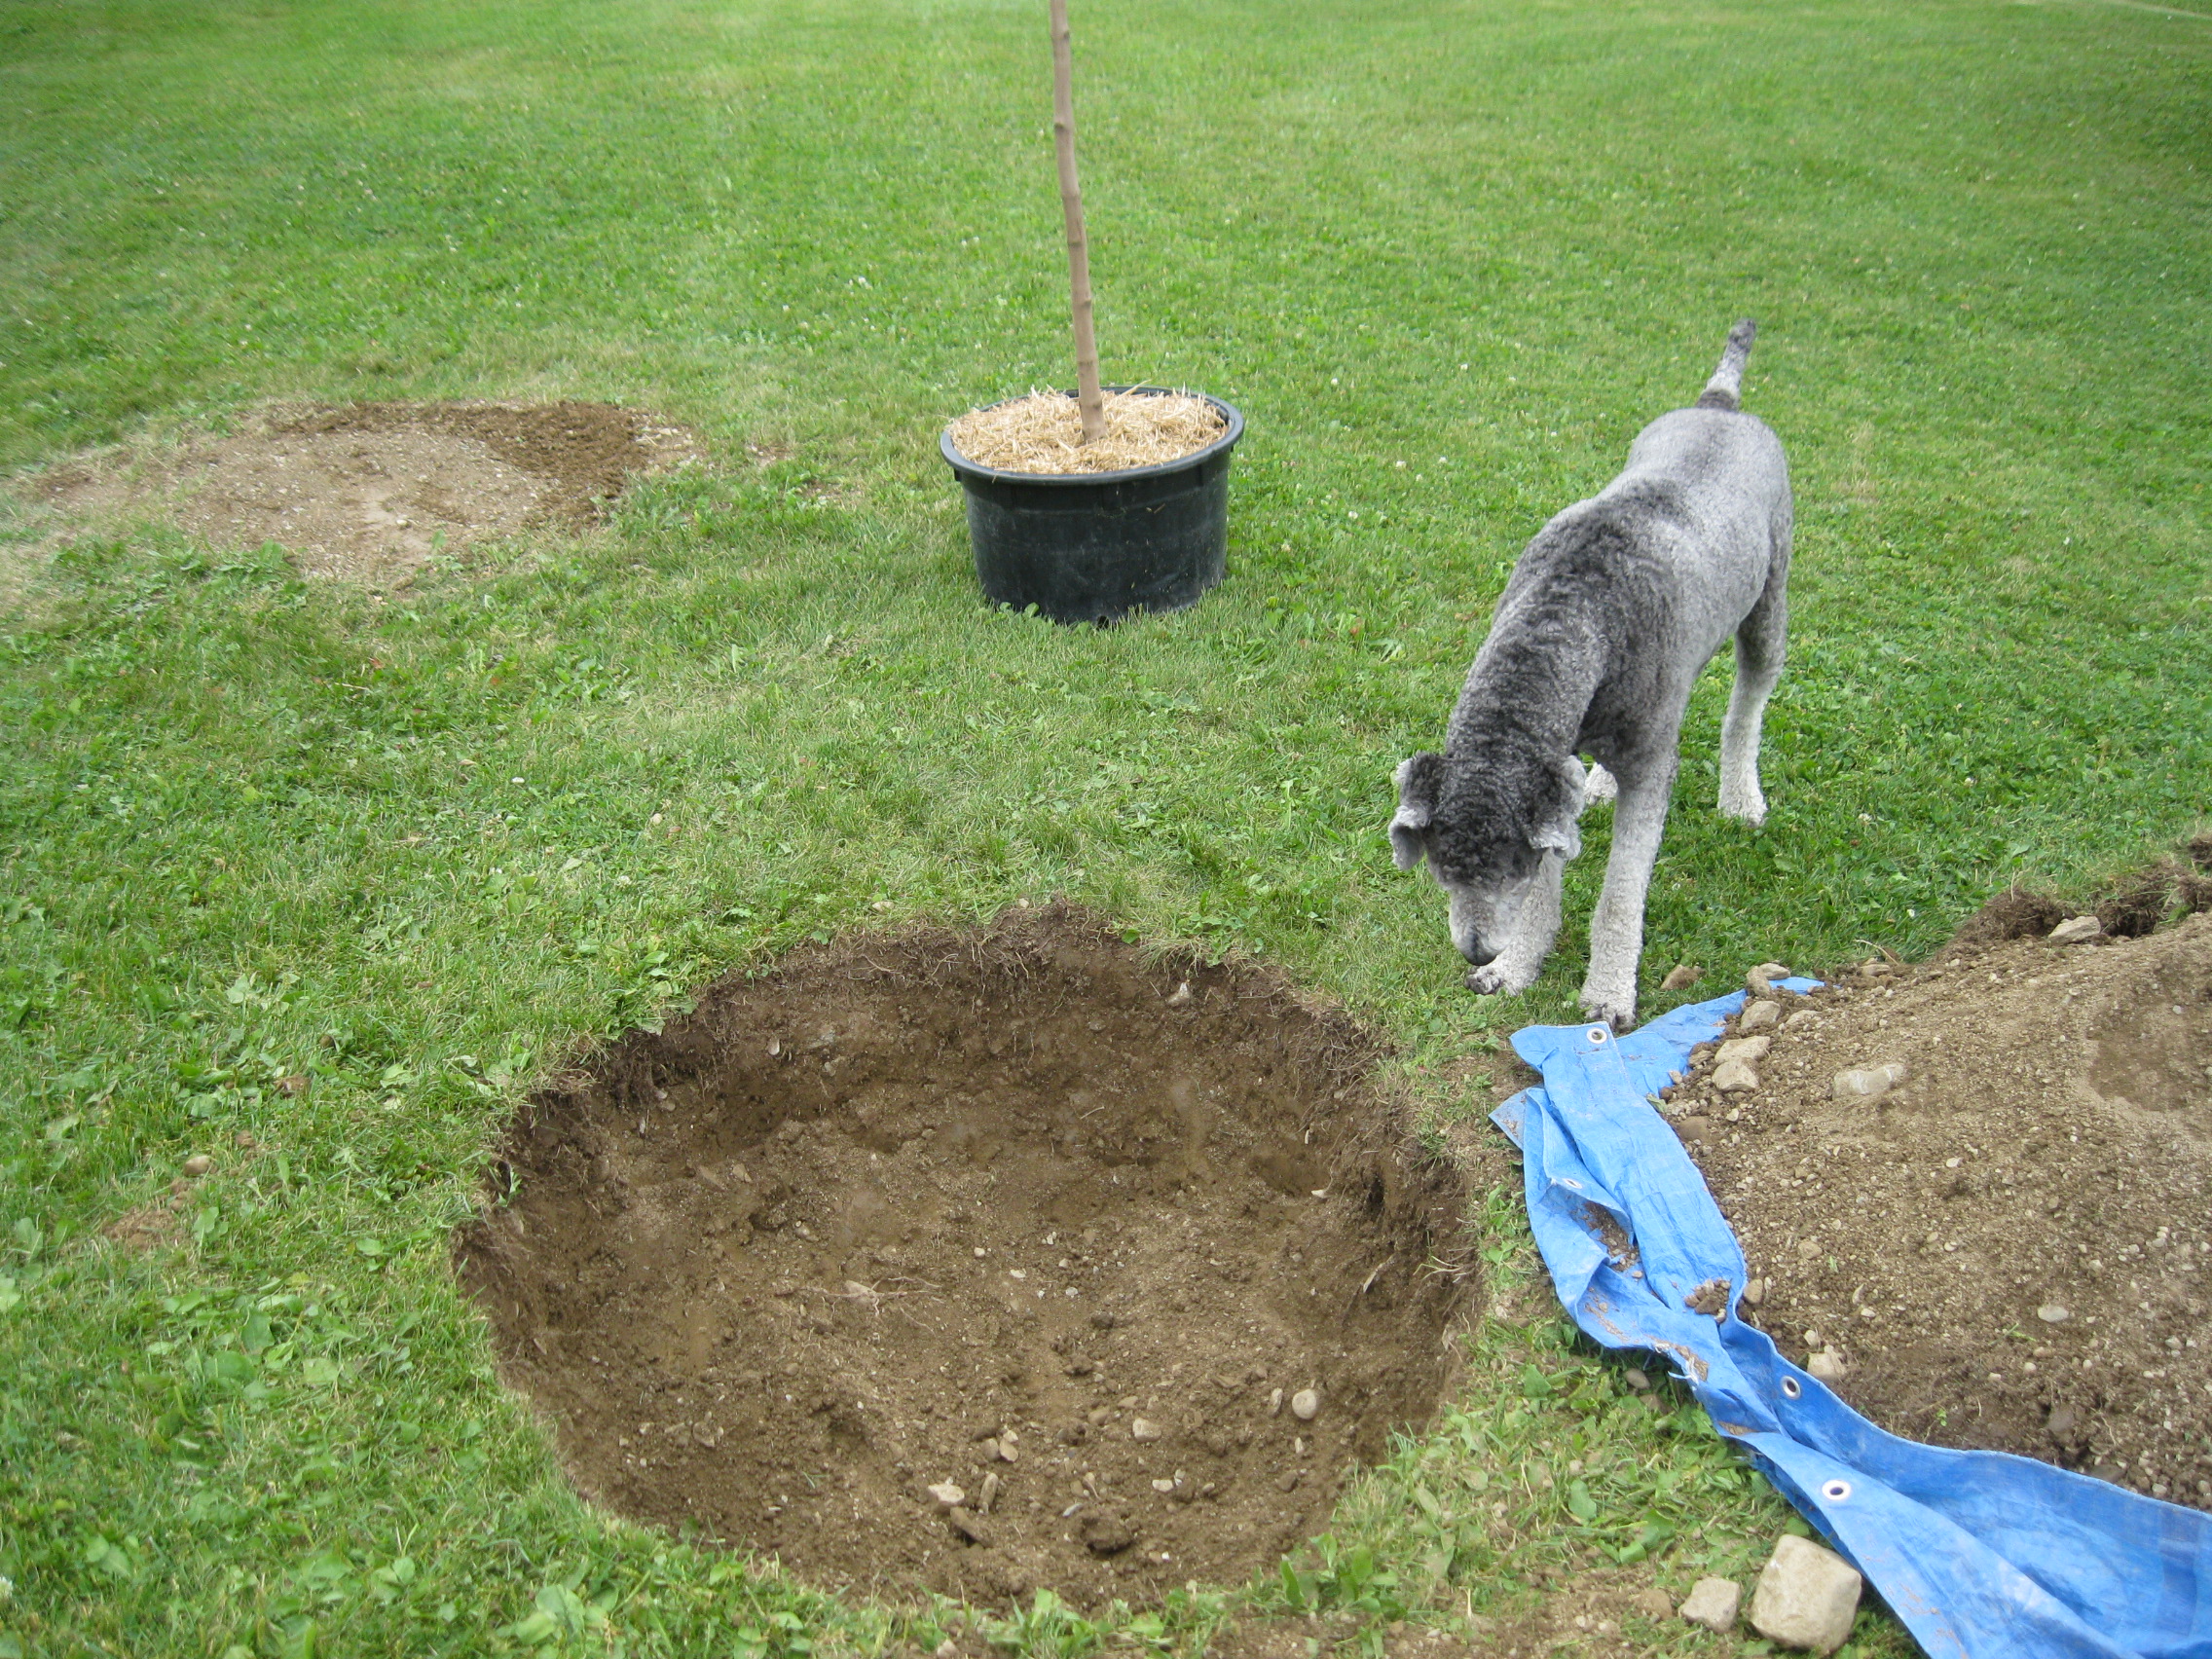
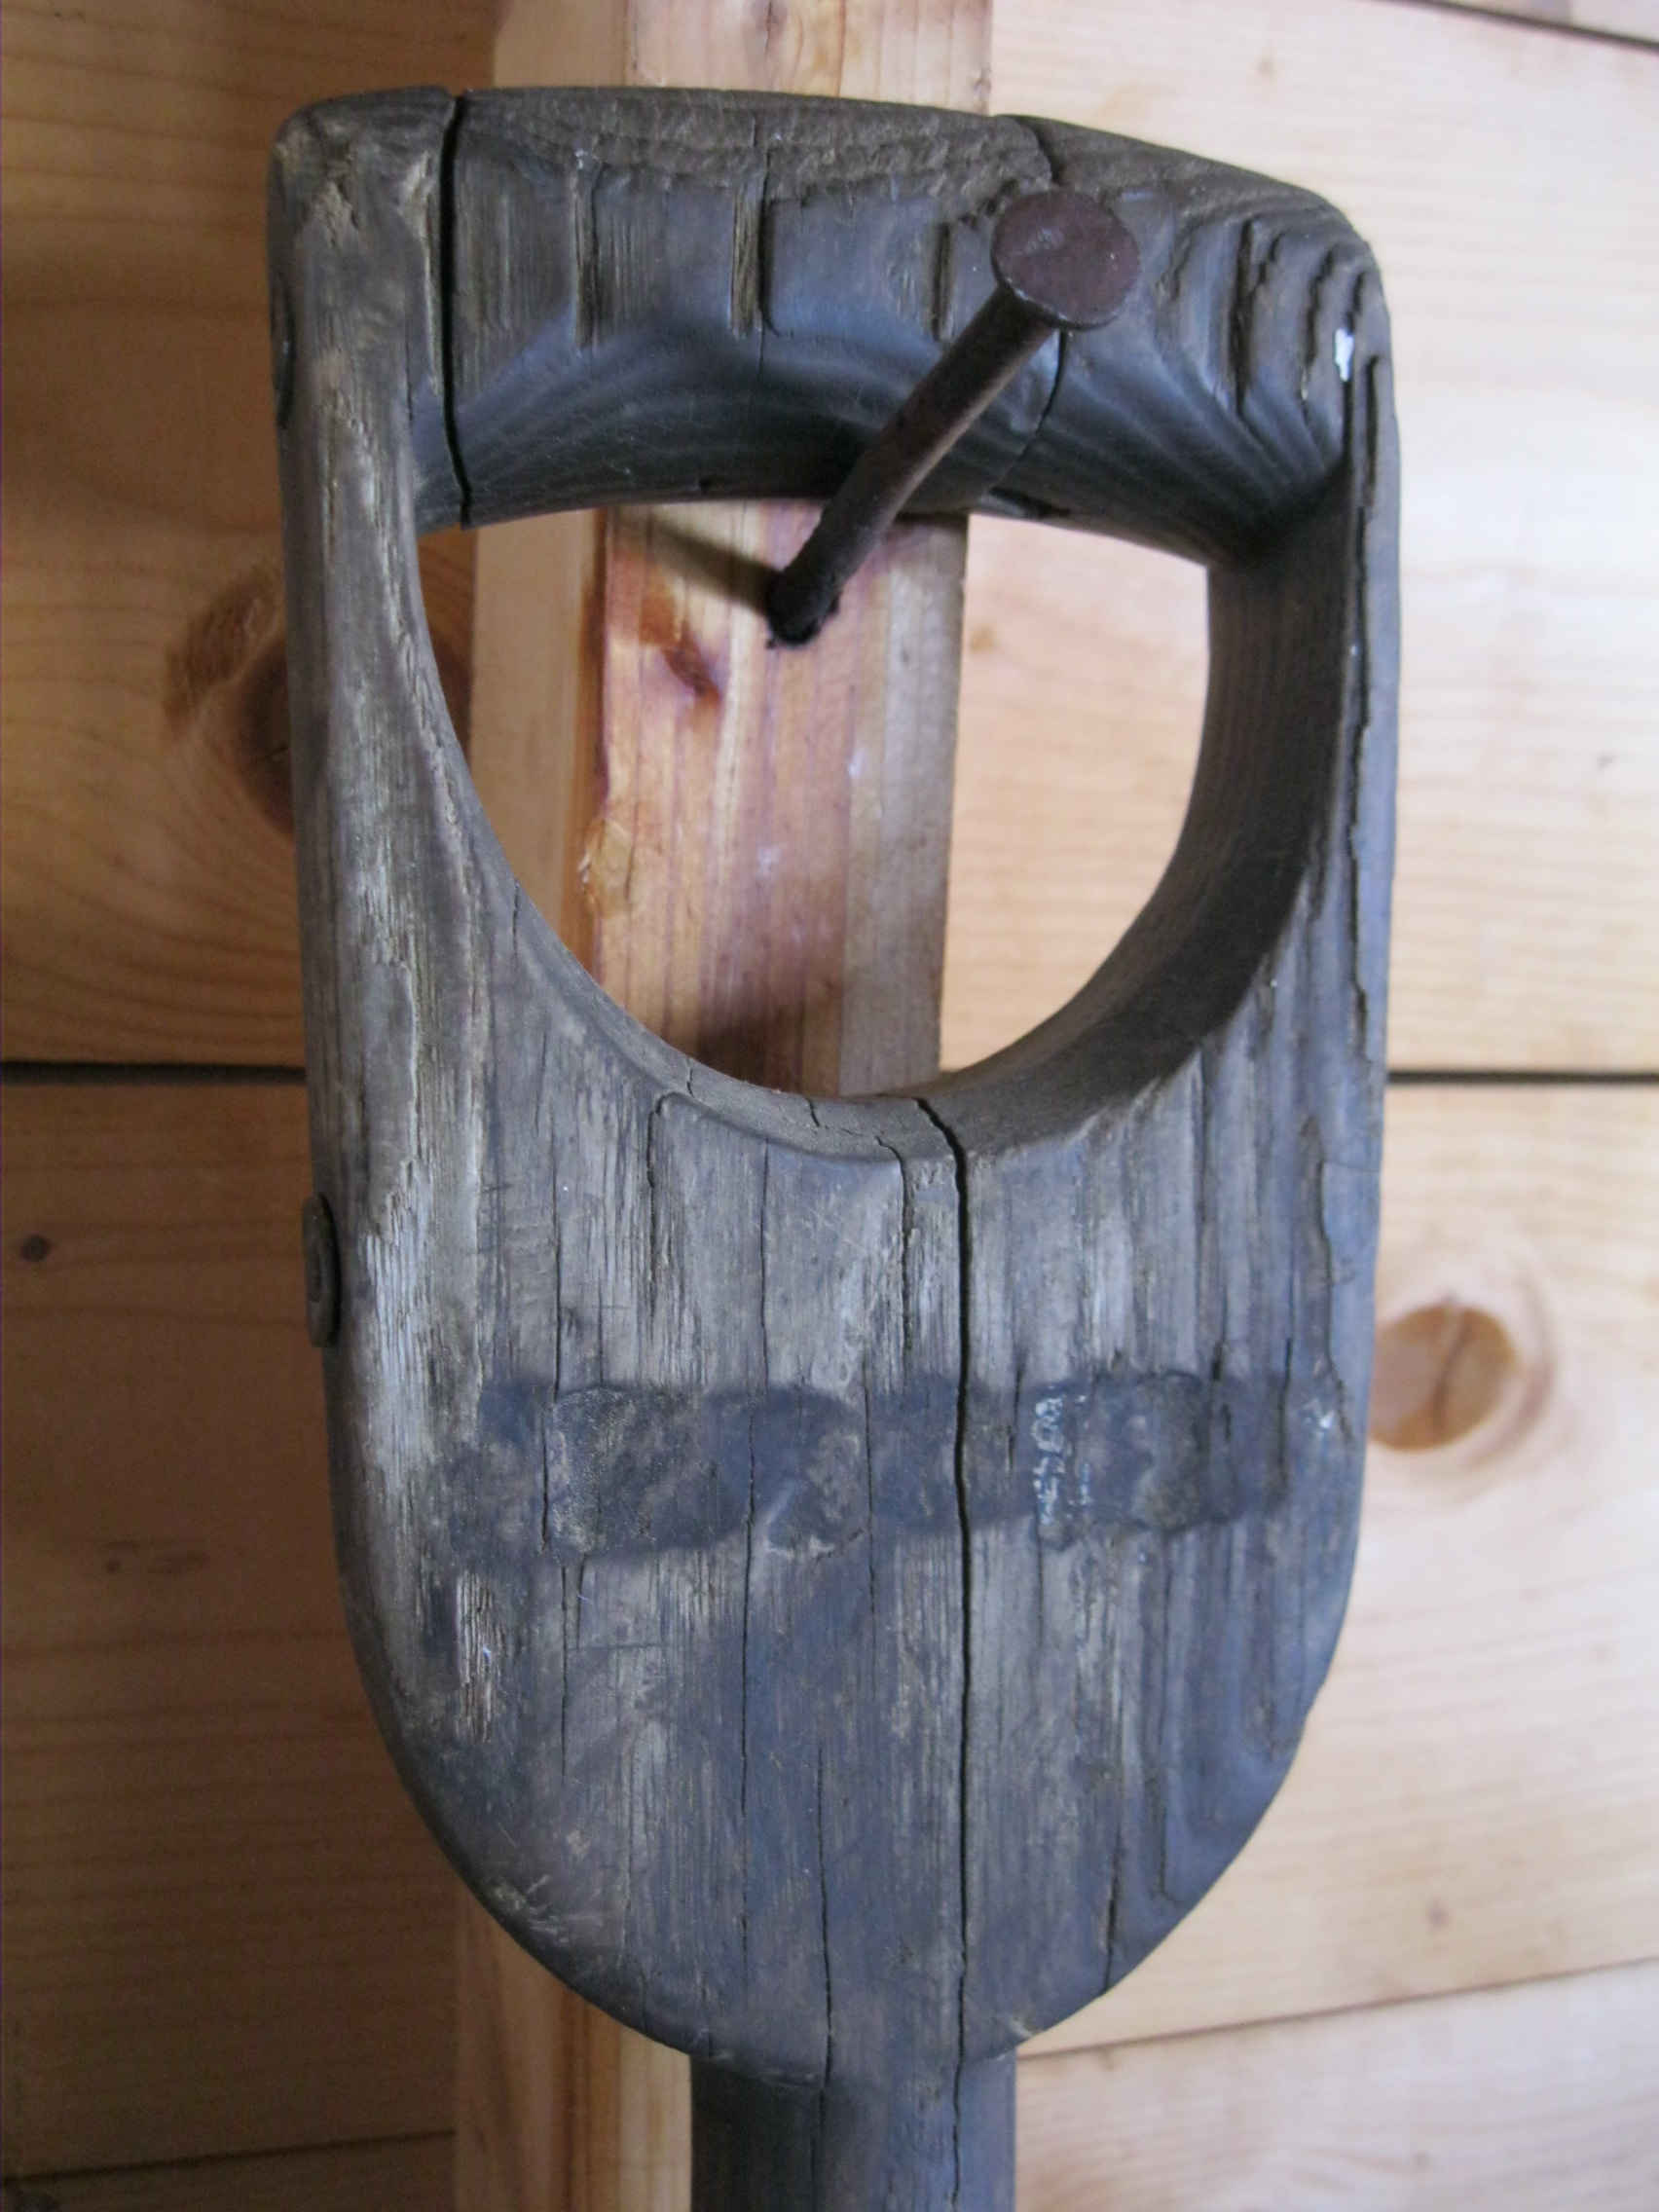
3. Take the time to dig a proper hole, generally no deeper than the tree sits in its container or root ball, but 2-3 times as wide. Shovel the soil onto a tarp, removing large rocks. Mix compost into the soil on the tarp if you wish, but at least 75% of the soil should be native to the hole.

Henry approving the hole

Henry approving the hole

4. Remove or cut away the container, including ropes or wires. Burlap may be left in the hole to decompose, but it must be completely buried so that it does not wick moisture away from the roots. Lay the handle of your rake across the top of the hole, and adjust the hole depth to allow the top of the root ball to be even with the rake. Encourage circling roots to point outward to prevent root strangulation. Prune off girdling roots. When planting bare root trees, form a mound in the bottom of the hole to raise the tree to the proper planting depth. Place the tree on the mound, spreading the roots over the mound and out into the hole.

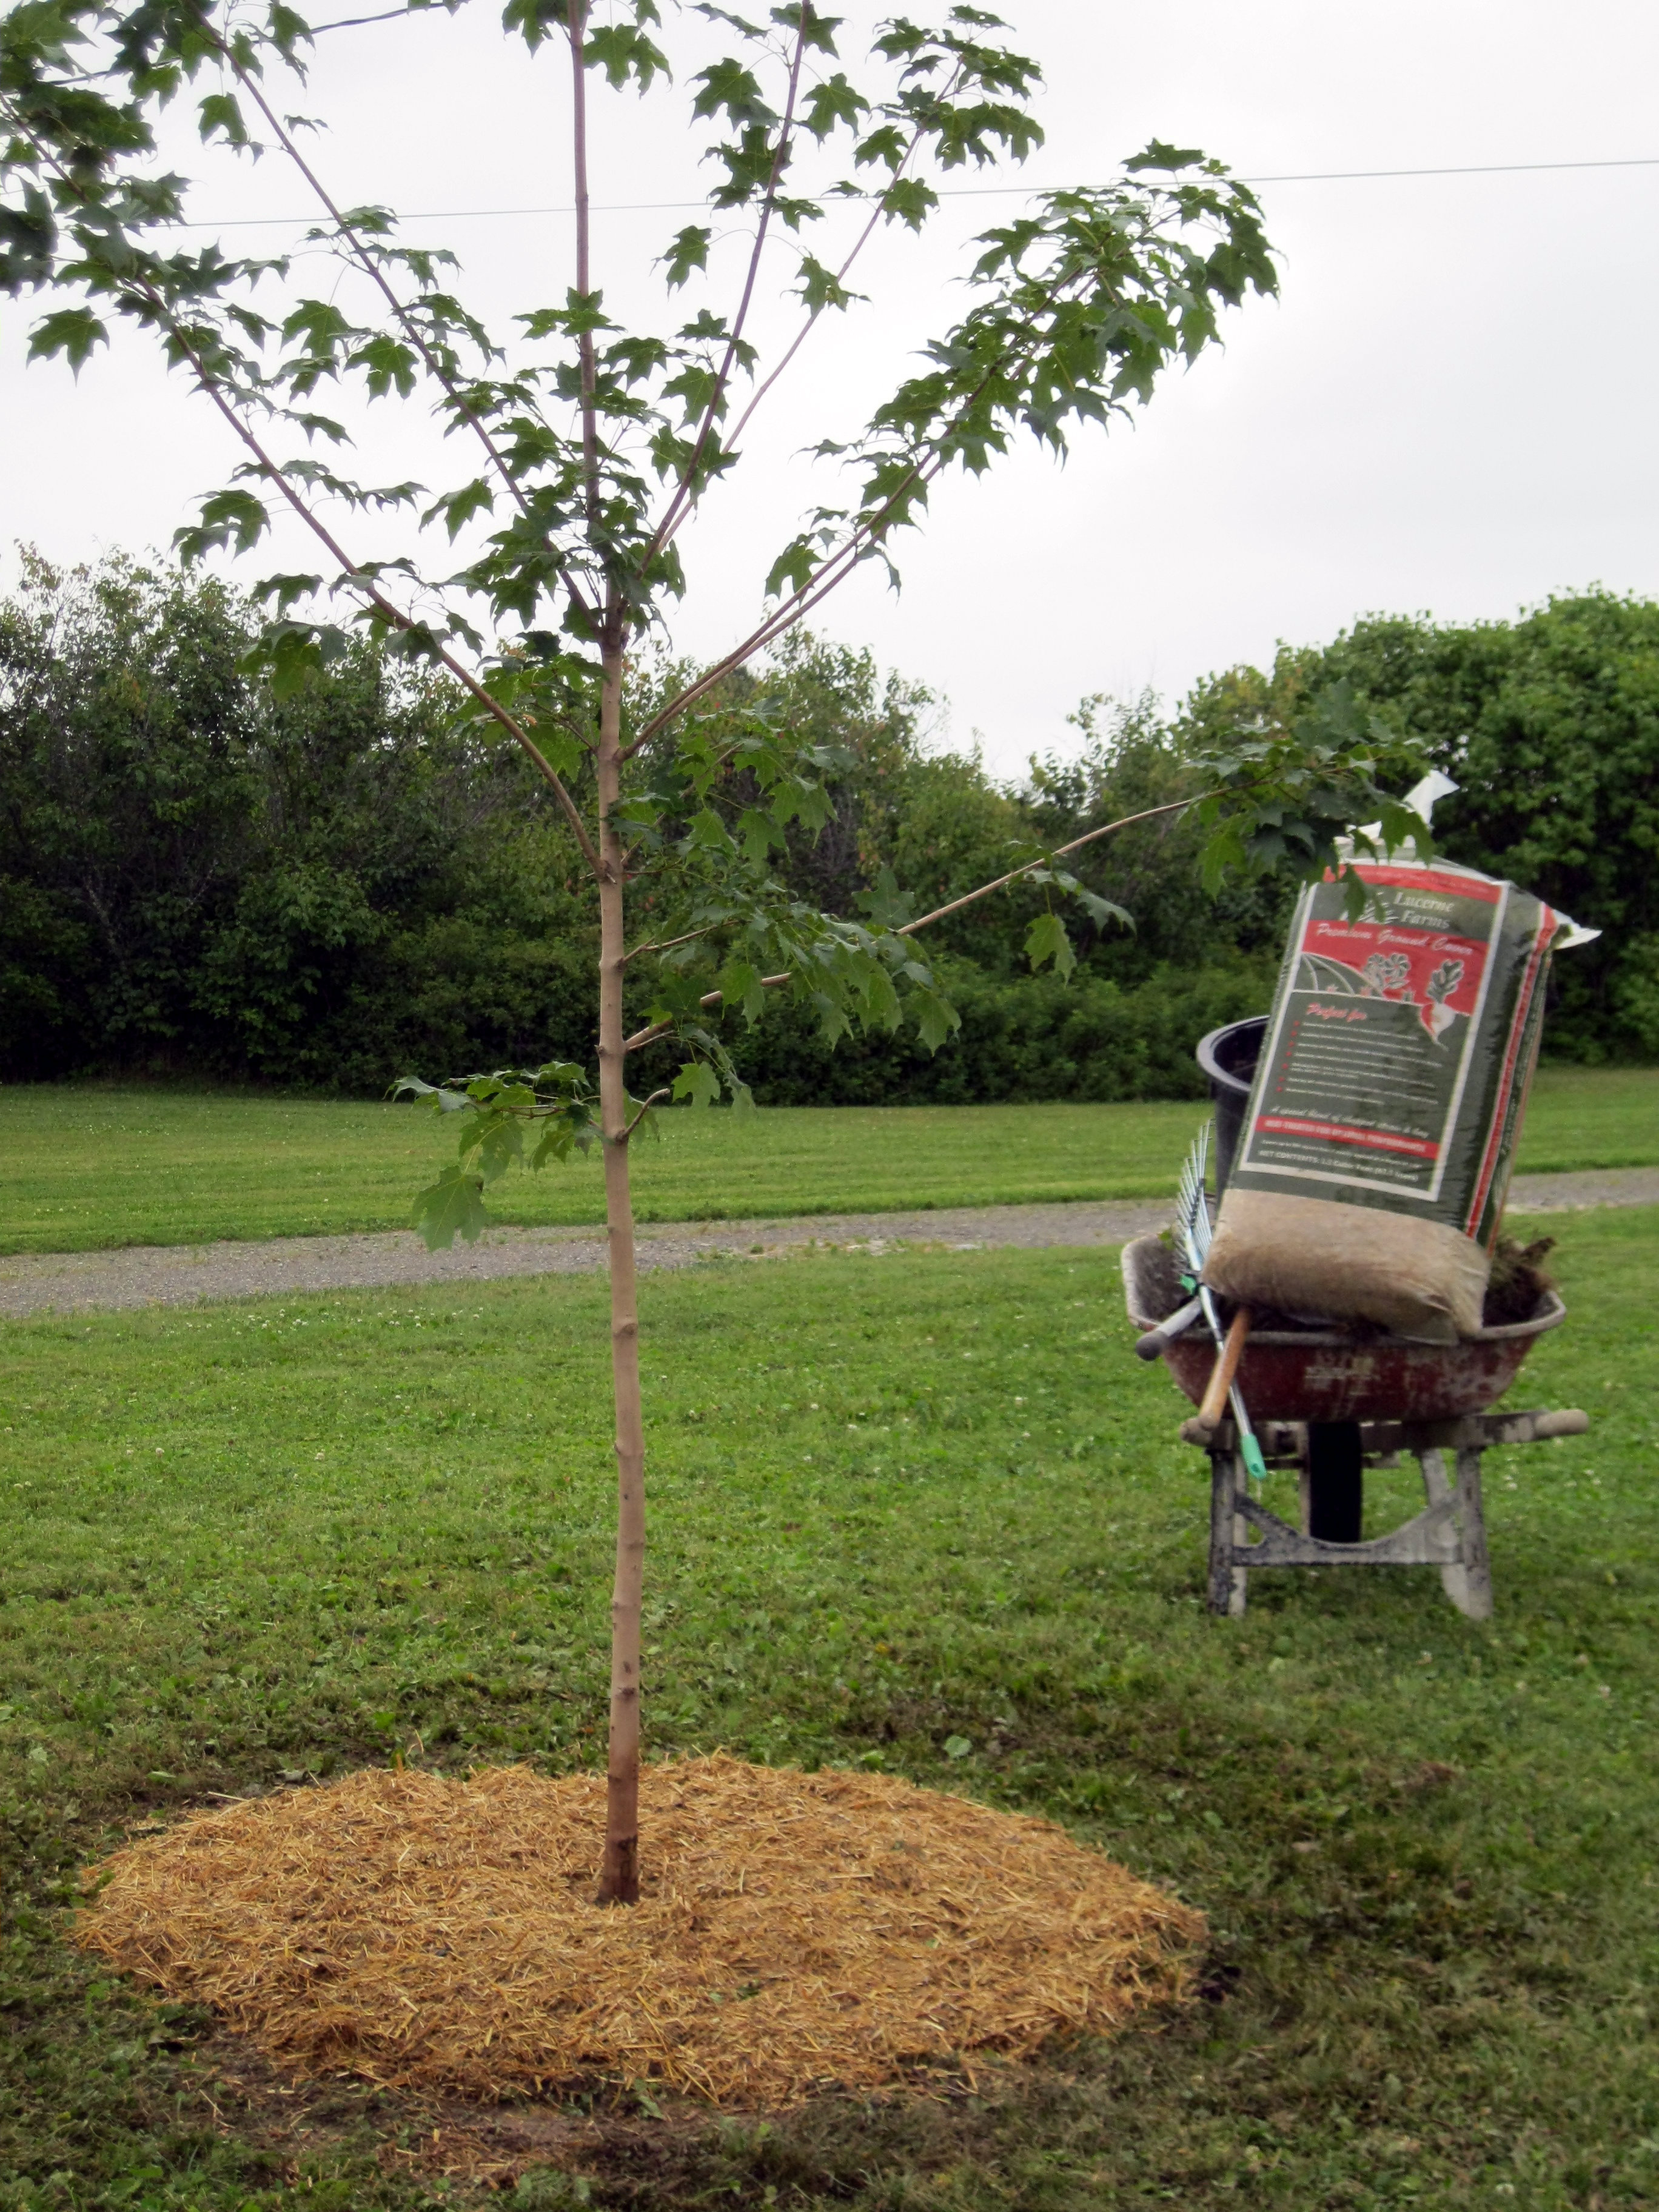
5. Return about half the soil to the hole, tamping to remove air pockets. Roots need to make good contact with the soil. Water thoroughly as you tamp. Continue to add soil and water until the hole is filled, tamping as you go. Mulch to a depth of 2-4 inches to help maintain soil moisture and discourage weed and grass growth. Take care to keep the mulch a few inches away from the trunk of the tree. Stake only if the winds are very strong, unless it is recommended for your tree. Use hoses or straps to protect the bark from staking wire or ropes. Allow the tree to sway. Remove stakes after one year.

Planted and mulched with Premium Ground Cover

Planted and mulched with Premium Ground Cover

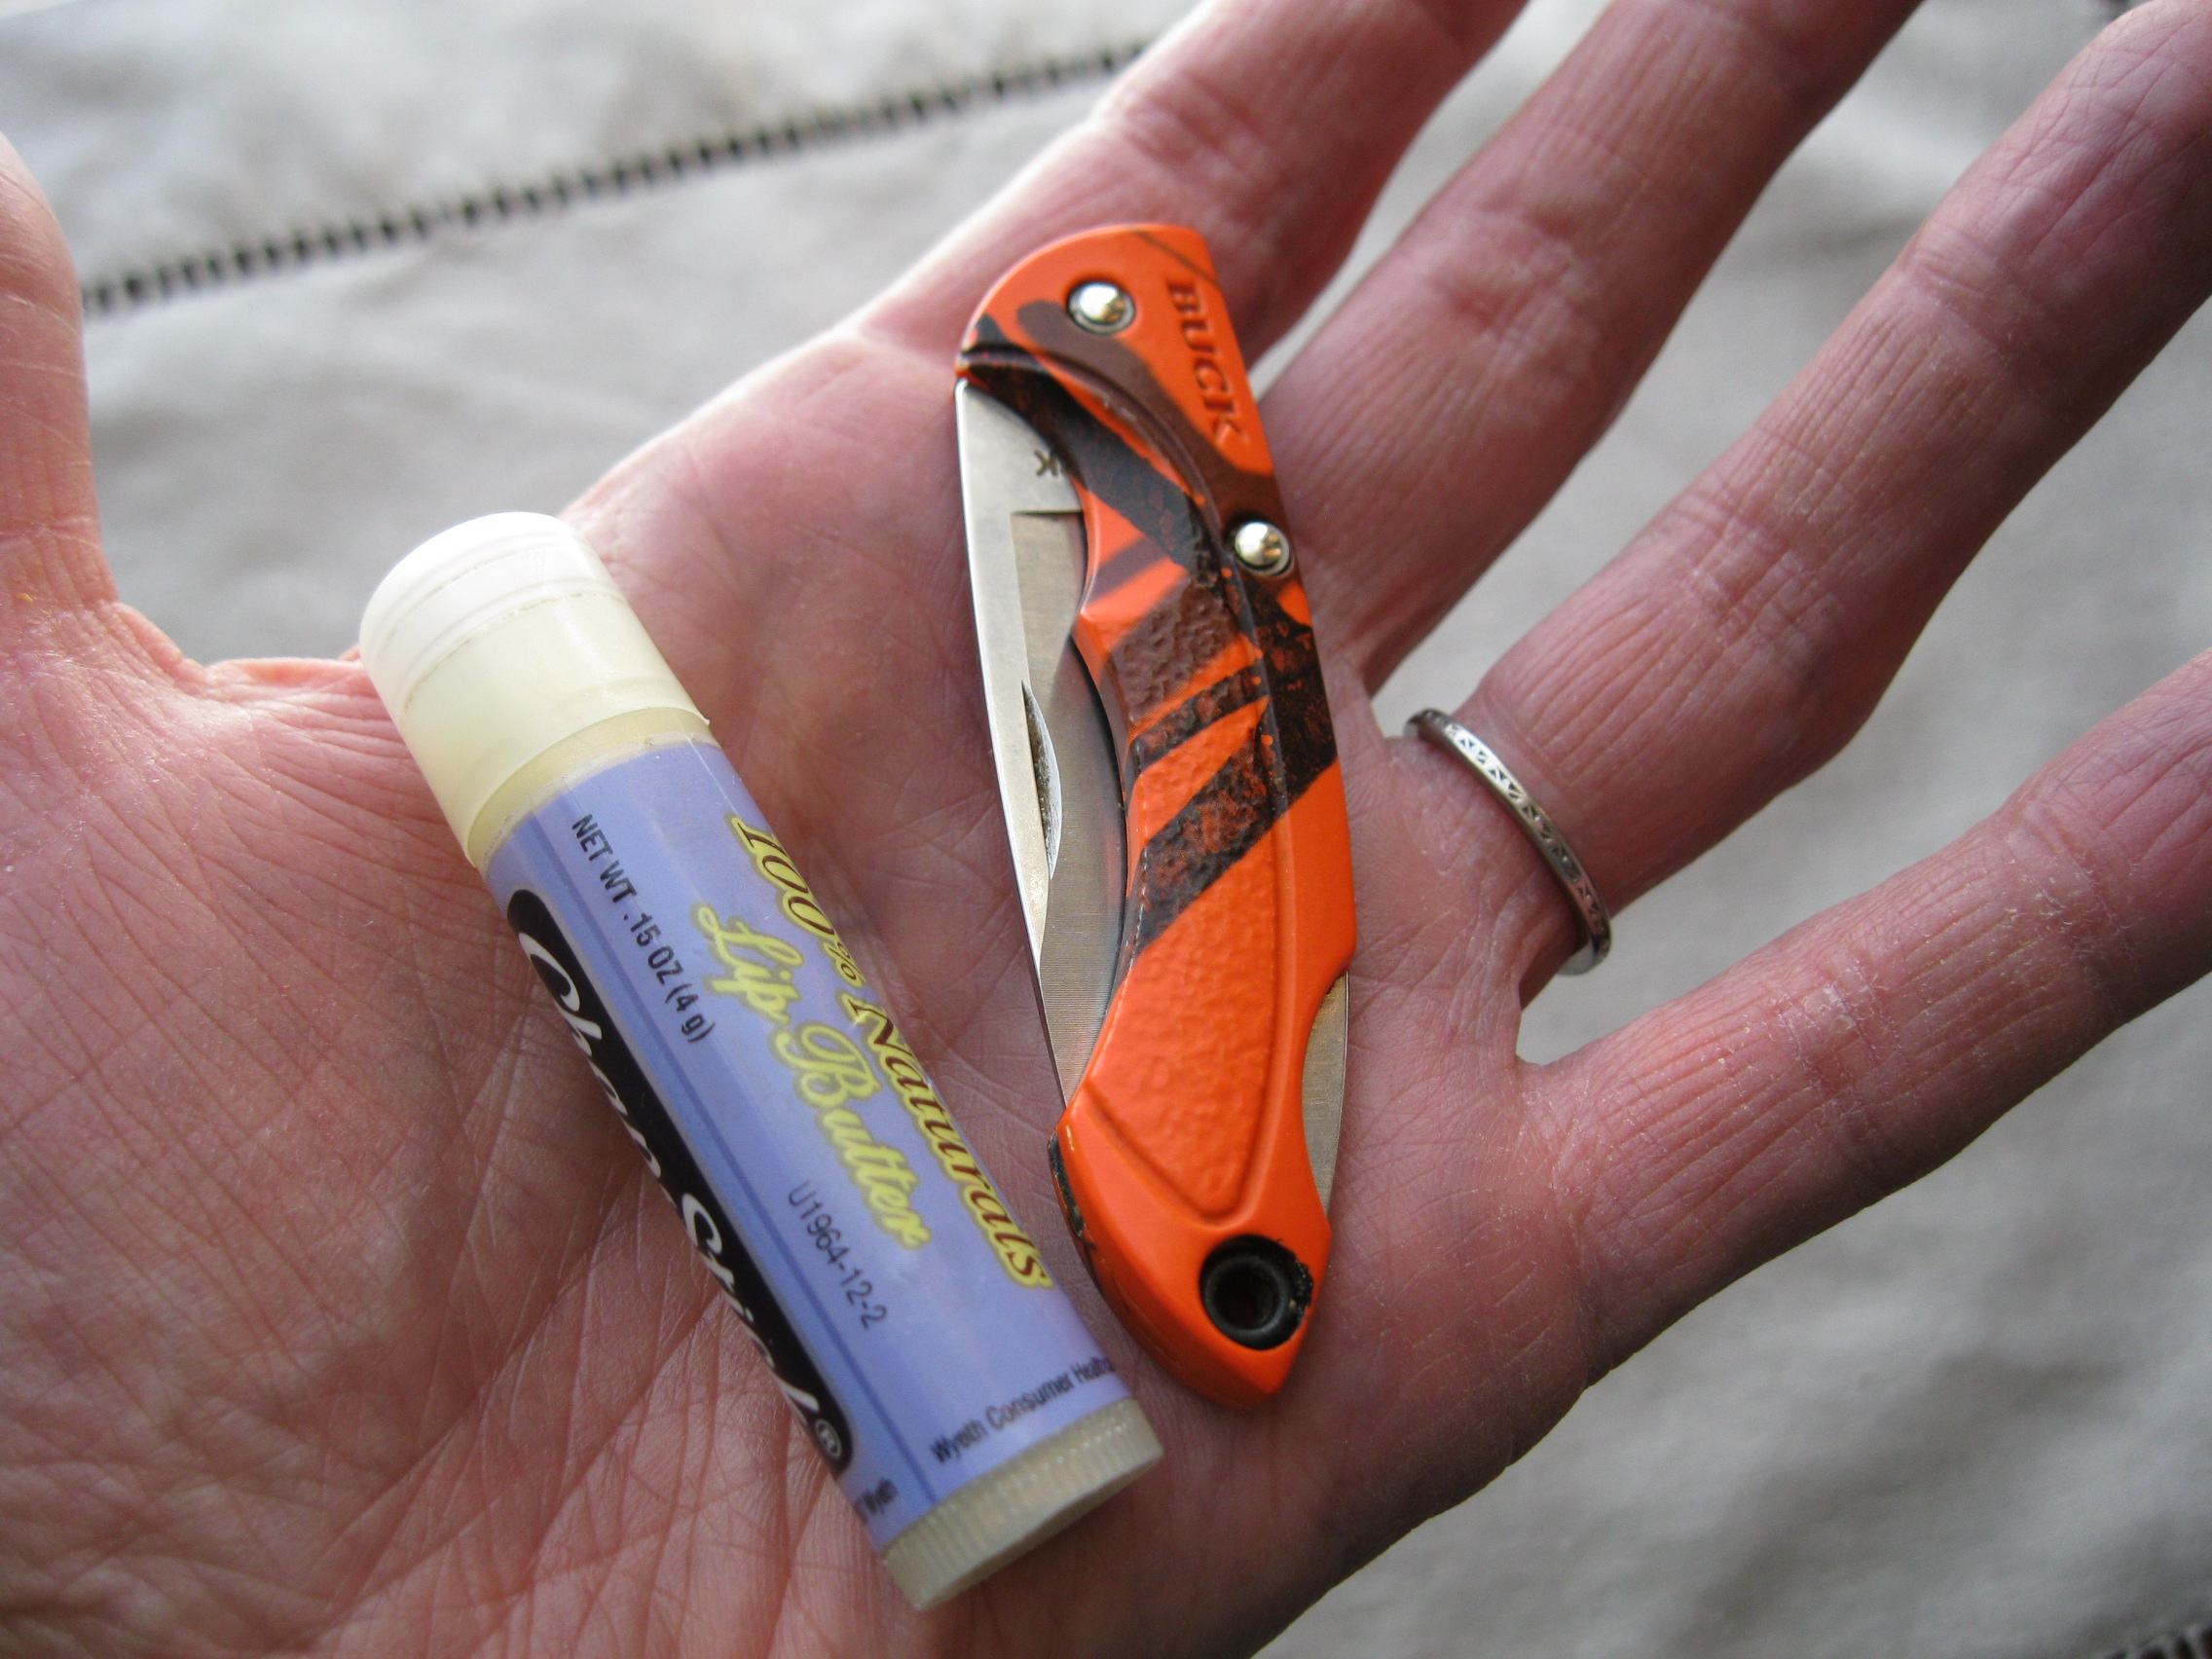
Giving your tree plenty of water is critical to its survival during the first growing season. A good way to water is to drill several holes into the sides of a 5-gallon bucket near the bottom. You can add water to the bucket quickly with your hose, but the bucket will release the water to the soil slowly.

Unless we live to be very, very old, we will never tap the trees we’ve planted. Perhaps our children will make maple syrup, or our grandchildren. One day, many years from now, when sugar maples are on someone else’s must-have list, these trees will be ready.

Our three sugar maples - including the tenacious little one eaten to a stub in its first winter by a moose

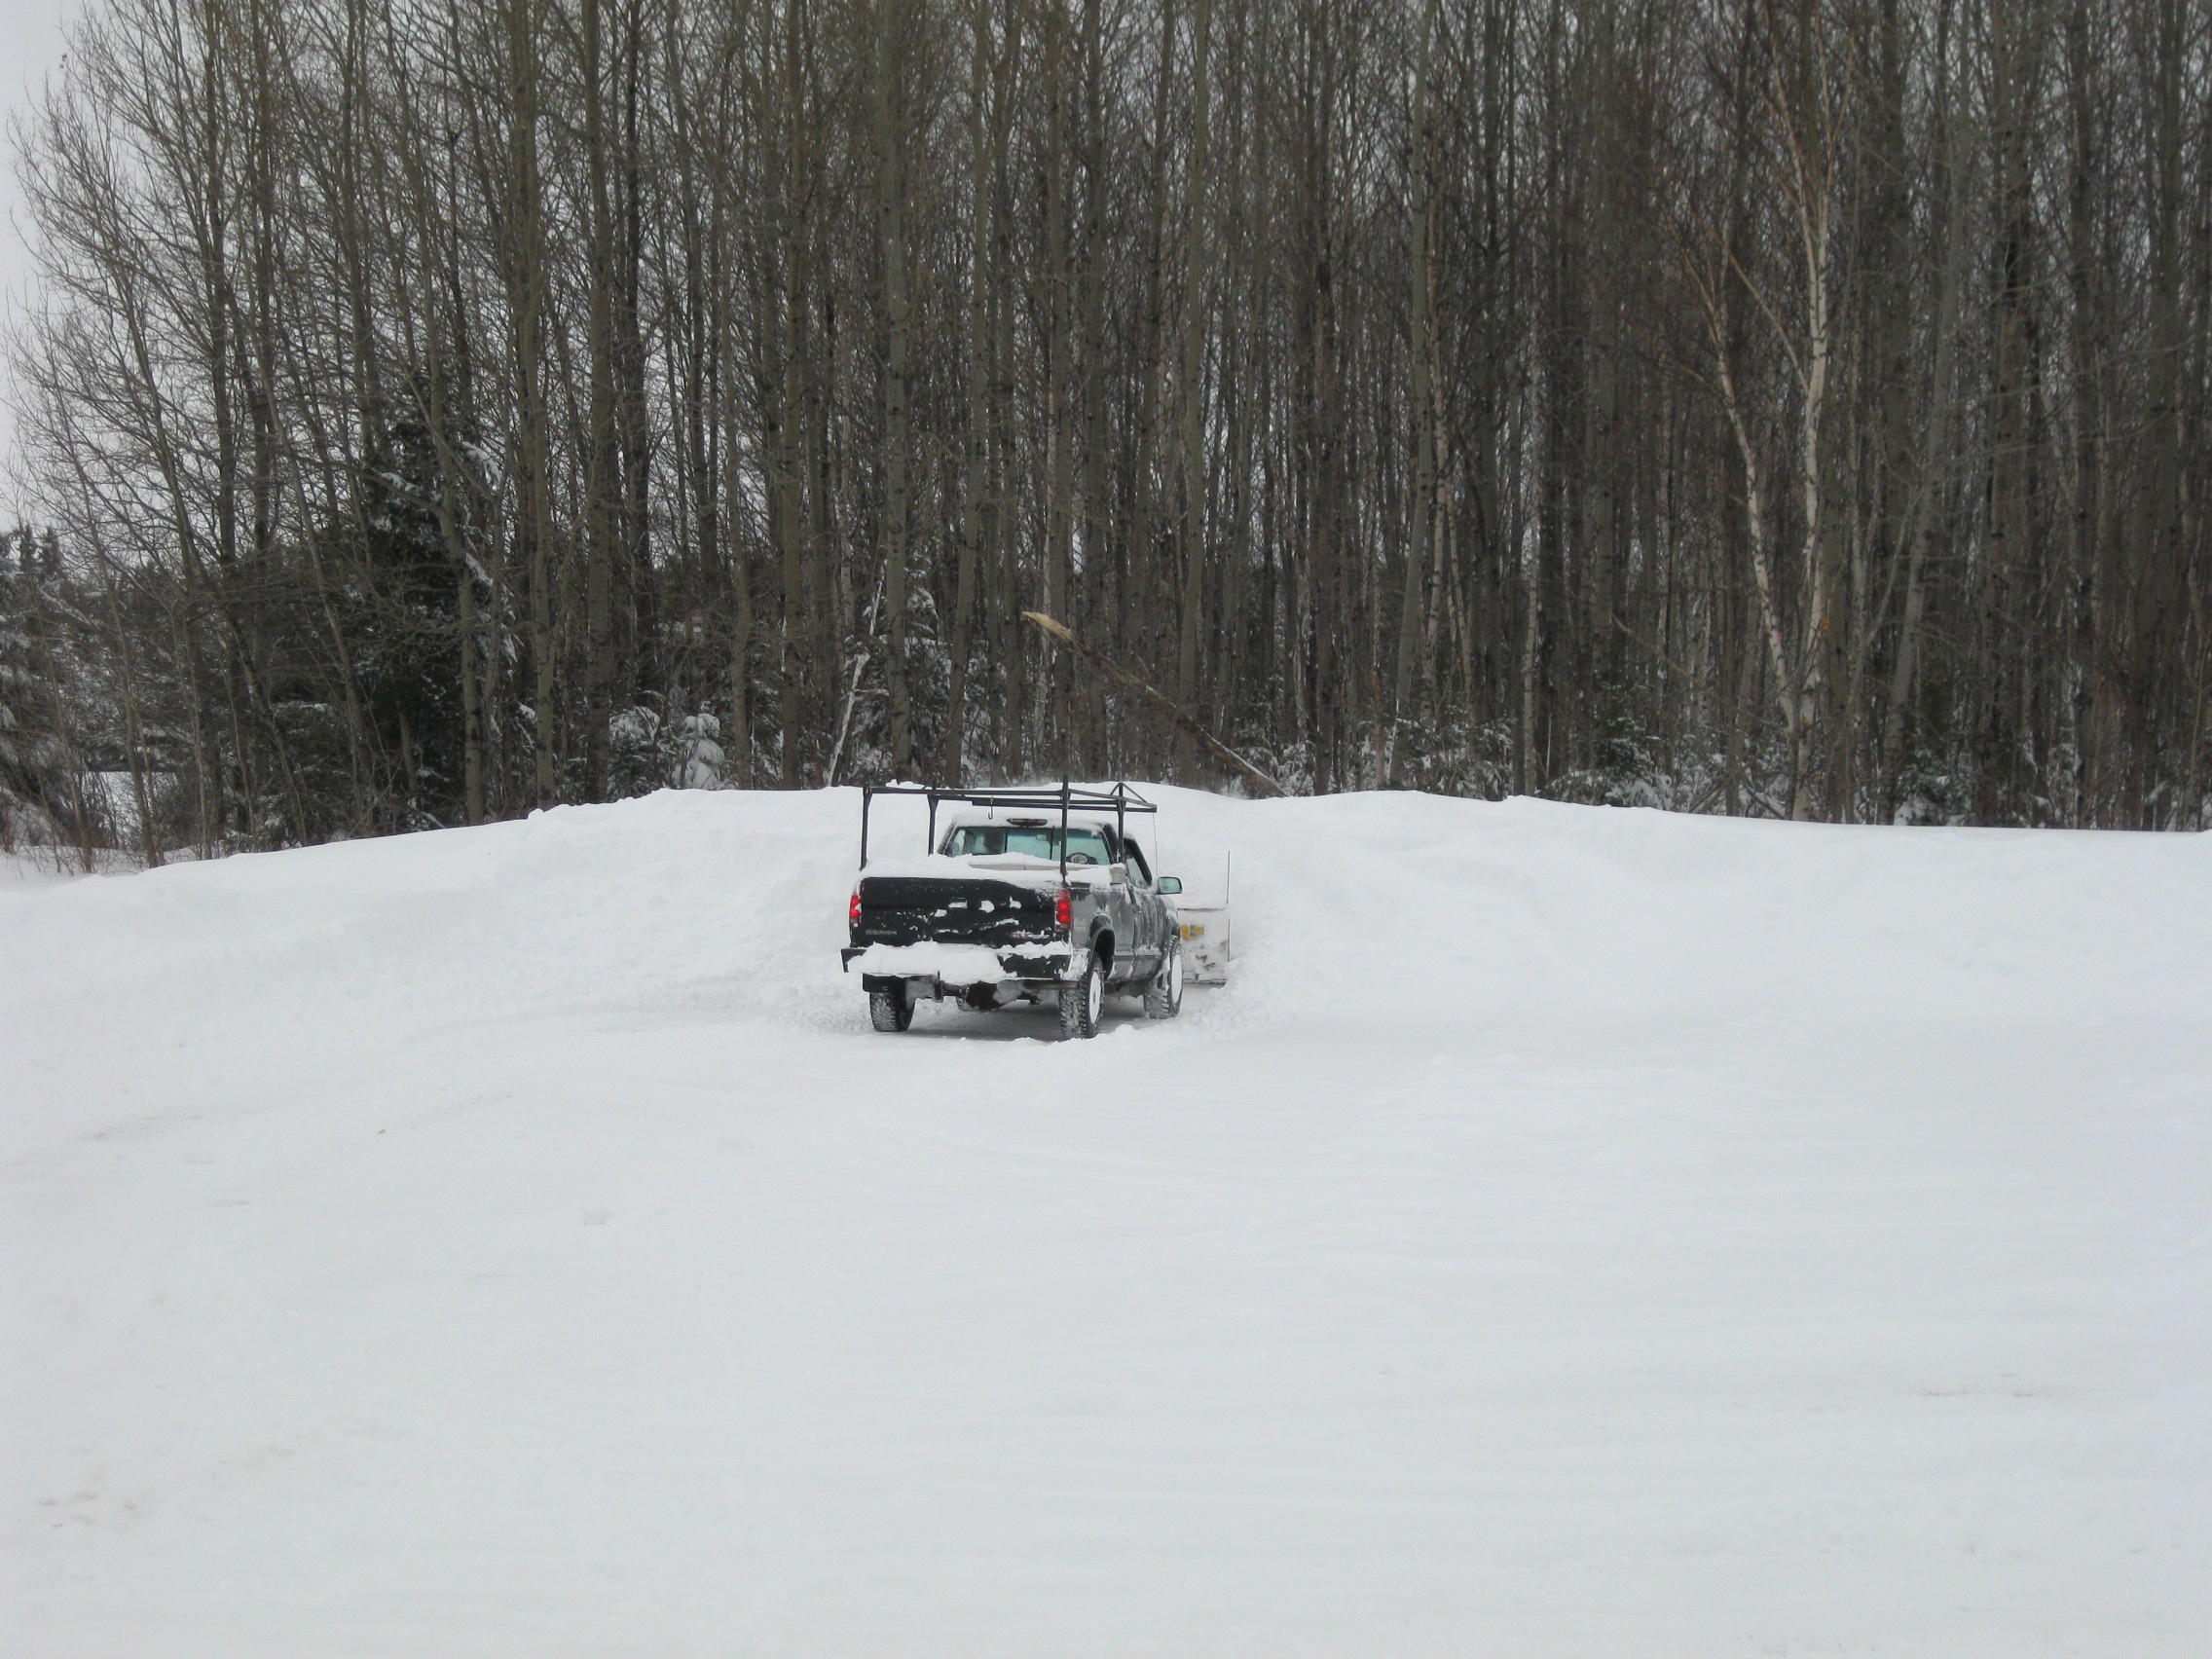
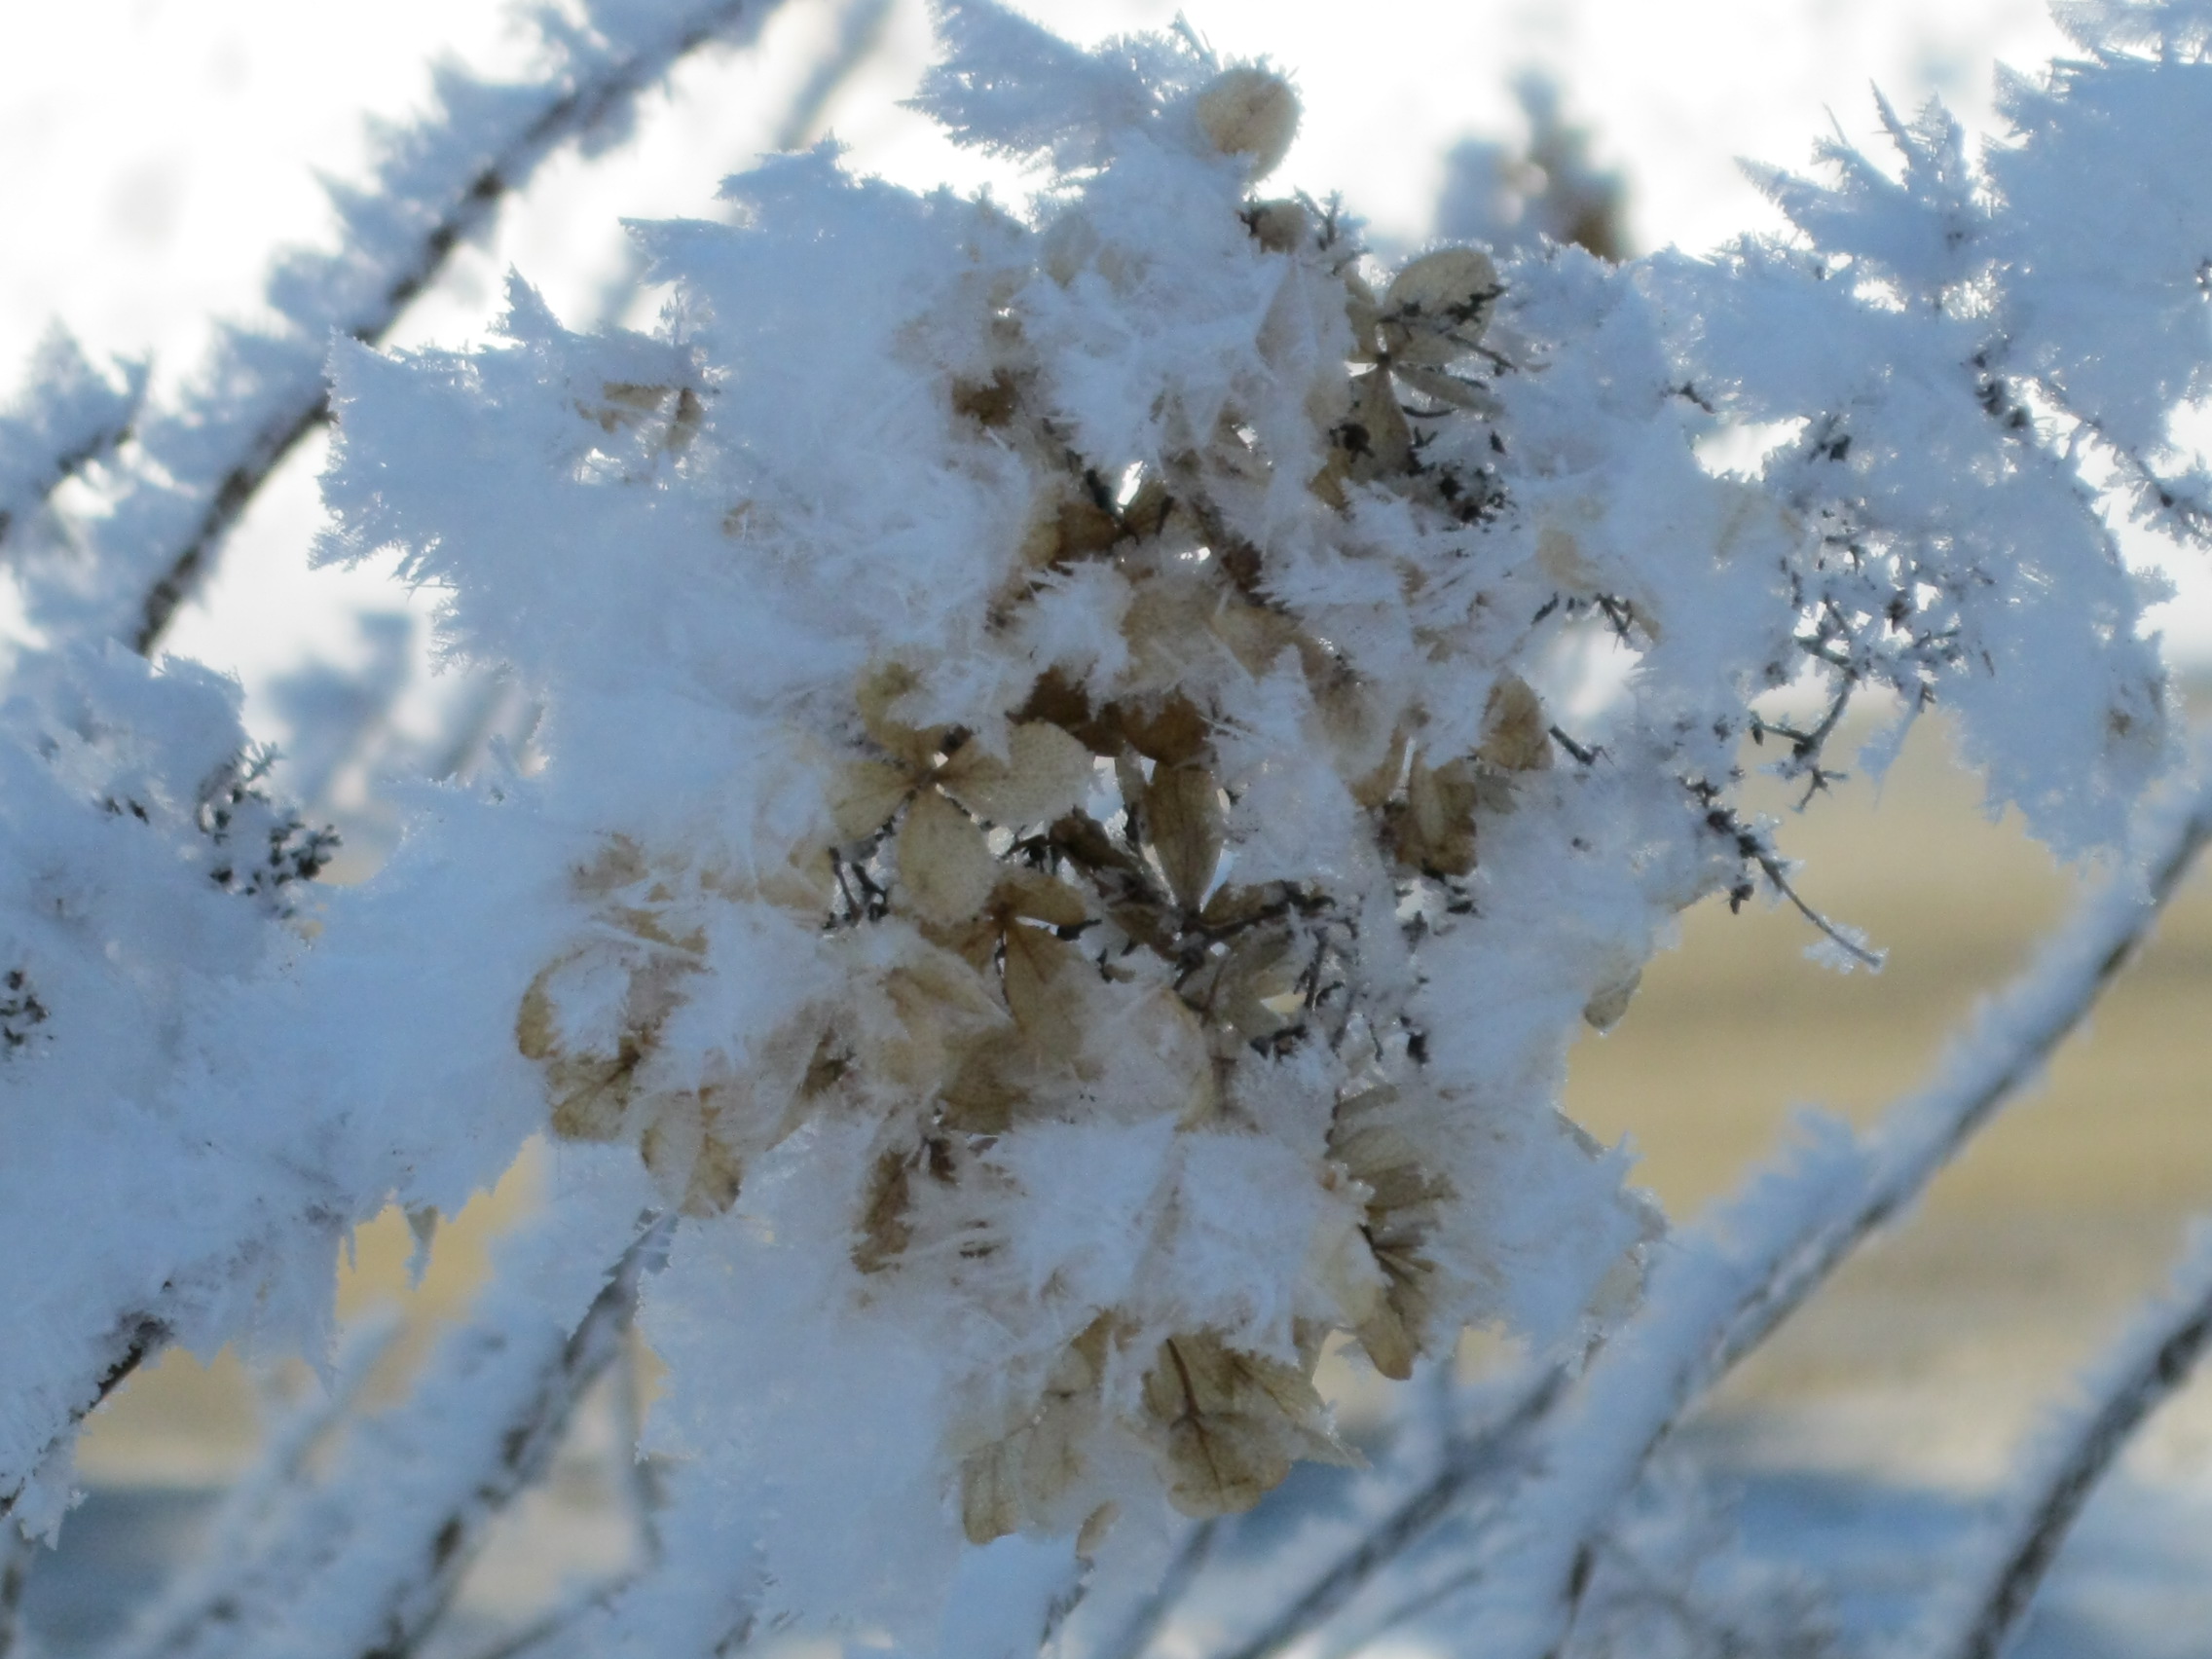
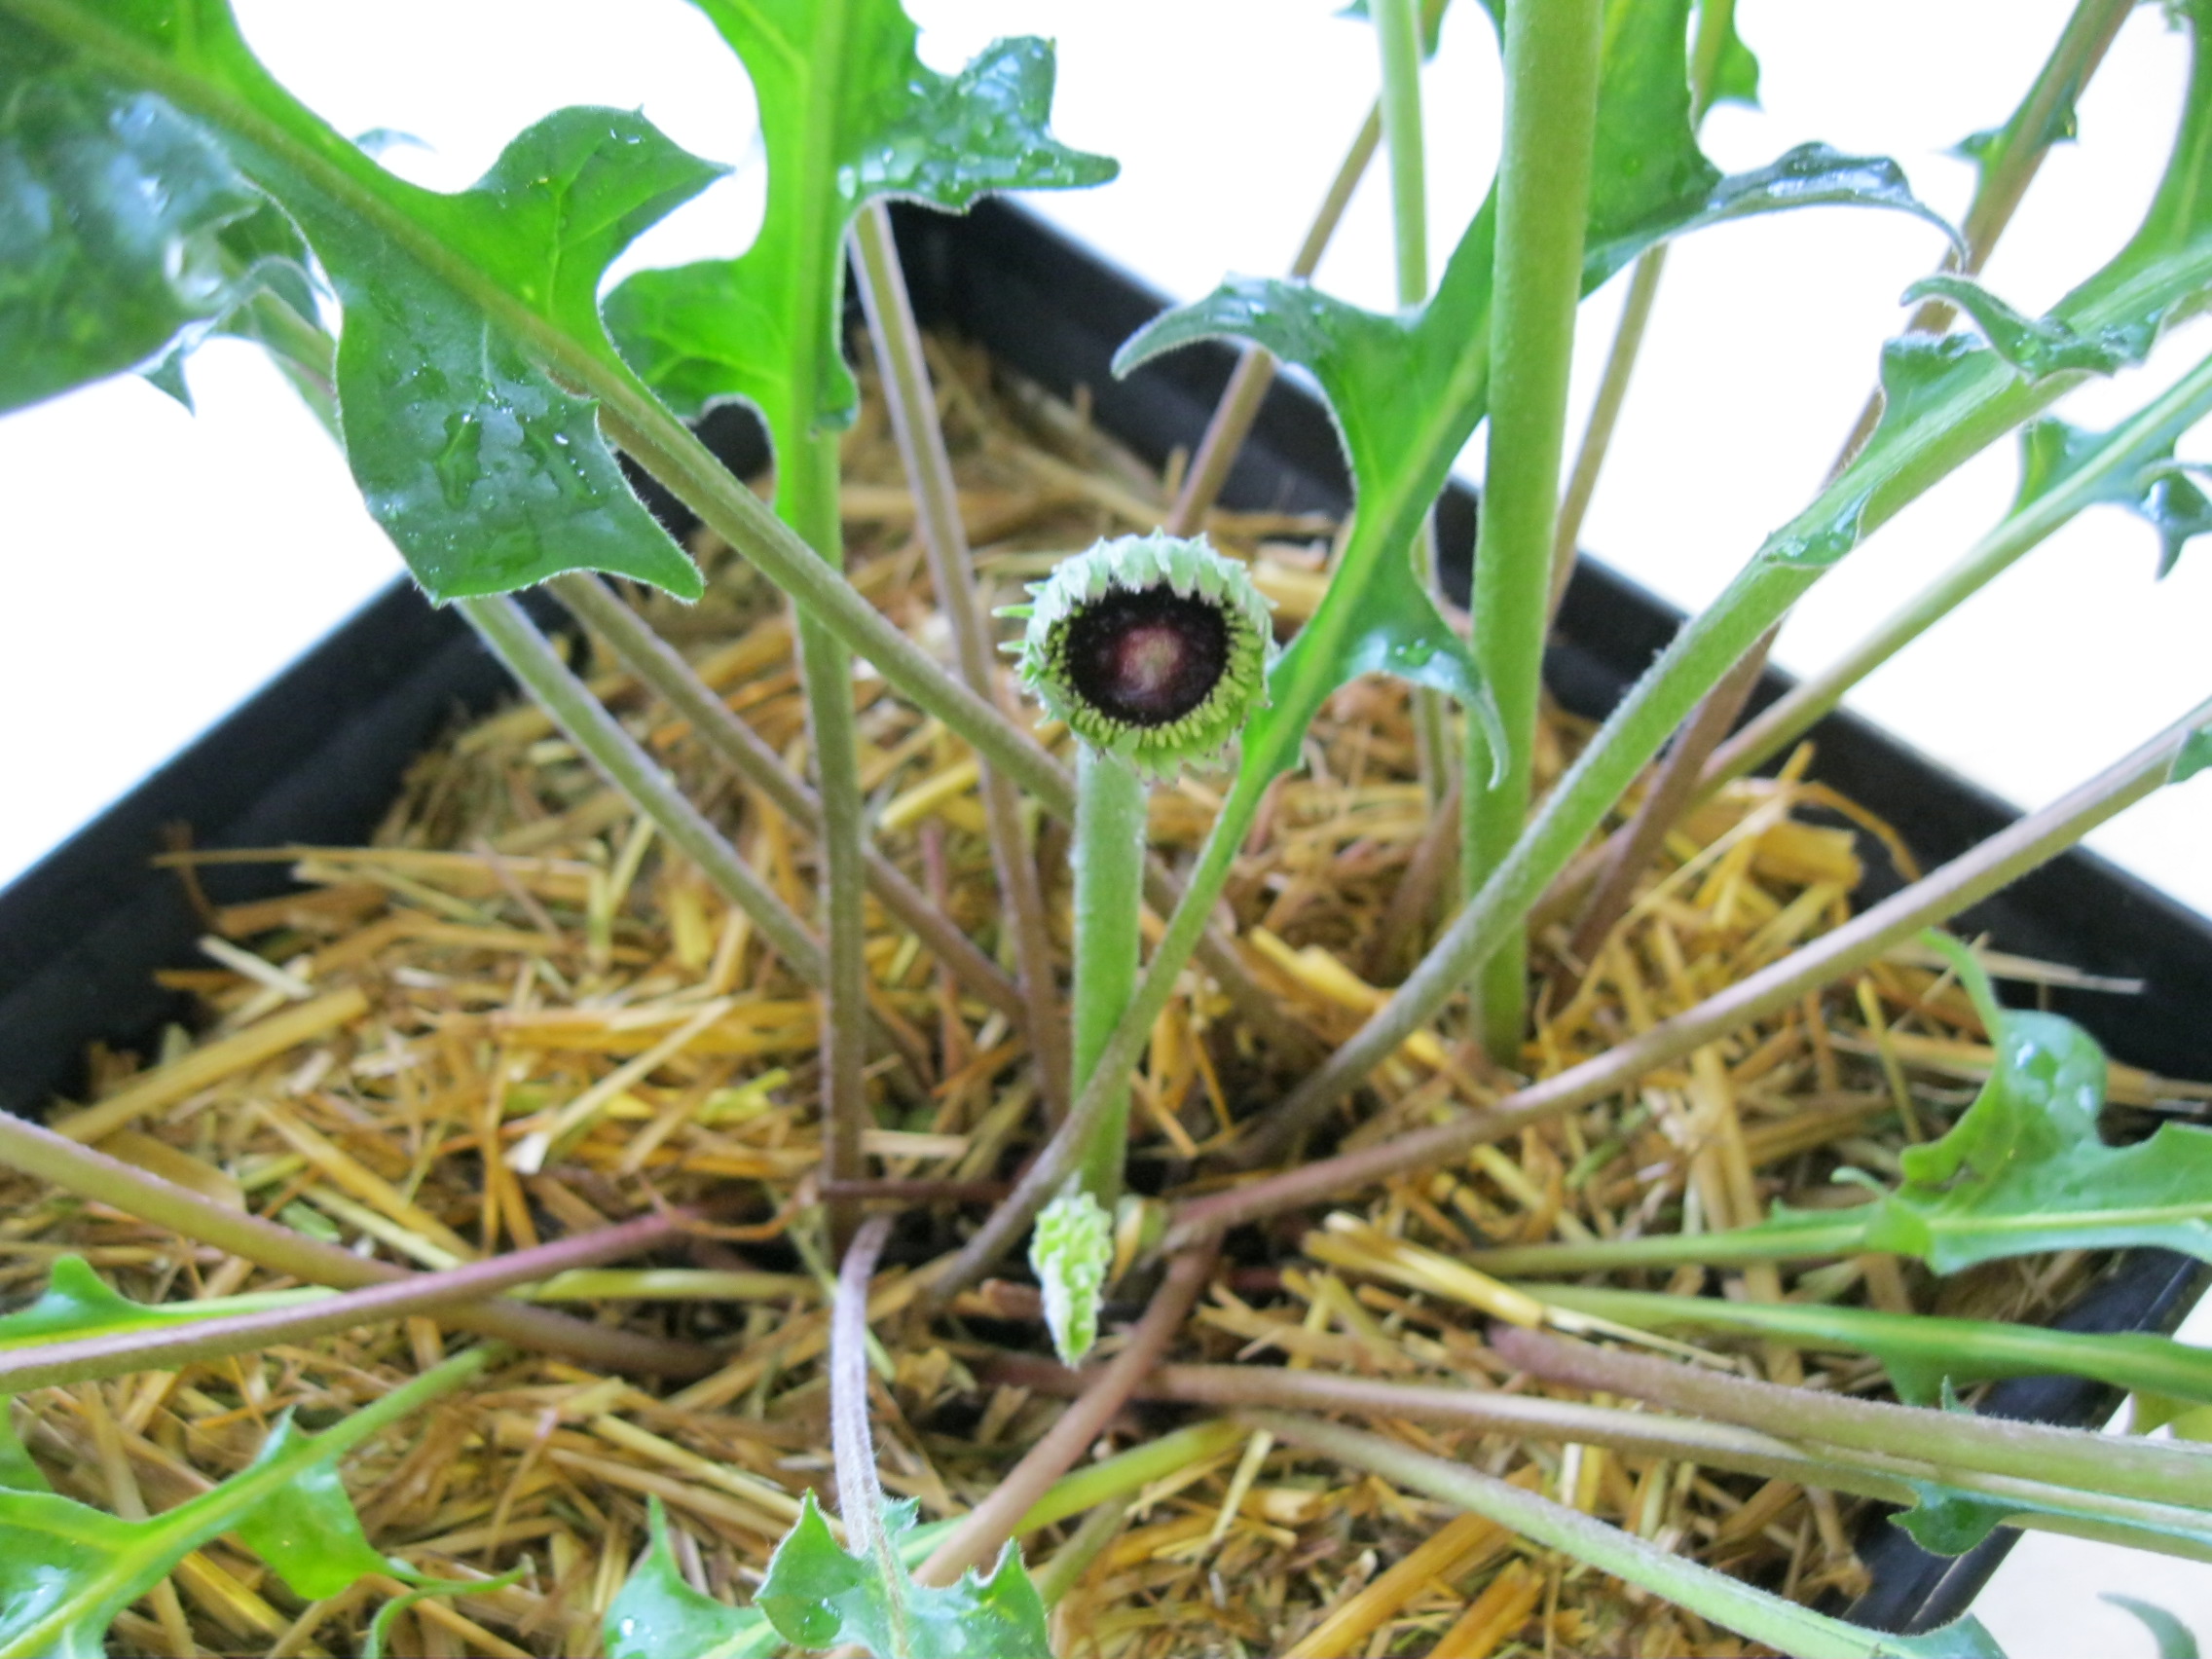
Our three sugar maples – including the tenacious little one, eaten to a stub in its first winter by a moose

Out of the Way!

Tags

, , , , , , , , , , , , ,

“Let’s put the new raspberries here,” I suggested. Tim and I were standing waist deep in an untamed field near the vegetable garden. In an area a bit rocky for root crops, fruit canes seemed a good choice. With sun shining there all day and water easily accessible, the decision was made.

As I began to mark the perimeter, Tim went to get the scythe. “How much can I have?” I asked tentatively, realizing that he’d have the worst task – knocking down the tall, tough grasses before we’d be able to rake and mow.

“As much as you want.” Tim is a jewel I don’t deserve, who lives by the motto, “Happy wife – happy life.”

IMG_0299

We opened much more than we needed just for raspberries. I’ve been wanting to get the pumpkins out of the garden, and this was a great opportunity. By fall when it was finally tilled and ready for planting in the spring, we were pretty proud of ourselves.

Our son, Sam, came over to see. “Is this really where you’re planning to plant raspberry canes?” he questioned. “You’re going to be plowing snow right through there all winter.”

Ugh.

Sam was right. In the midst of summer, it’s easy to forget what happens on a piece of the earth in the winter. Here in northern Maine, where we expect lots of snow, we plow the snow back far beyond the driveway, leaving a wide place to deposit the snowfall from each storm. The new garden will freeze and we will have no difficulty plowing over it, but annuals, not perennial fruiting canes, will be our best option. 

To help you avoid a similar mistake, I offer these suggestions:

Have you already chosen your plantings? Consider these before choosing a garden location:
1. What are the sunshine or shade needs of your plants?
2. What will be the size of the mature plants? Will they spread? How much room will each plant require?
3. What are the water needs? Is there sufficient access to water nearby?
4. Look up and around. Are there existing plantings which will compete for soil nutrients, water and space? What will be the mature sizes of existing plantings? Will existing plants eventually crowd or shade your new plantings?
5. What does the plant need after the growing season? Will it die back to the ground or need to be mulched (Learn about my favorite at www.PremiumGroundCover.com), wrapped or supported in winter? Will it provide interest and beauty in a winter garden? Will you want to see it from your window?

Have you already chosen your garden location? Consider these before choosing your plants:
1. Is the garden in full sun, partial sun or shade?
2. If the garden is next to a house or other structure, how much room do you need to maintain a proper distance between plants and foundations, steps, windows and gutter downspouts?
3. Are you looking for plants of a particular shape, color or size? Fast growing or slow-growing? Annual or perennial?
4. How far is your garden from a water source? Can you provide adequate moisture, or should you choose more drought tolerant plants?
5. What happens in your garden’s location in winter? Will it be under a snowbank? Exposed to harsh winds? Plowed over?

Our new garden will be planted in pumpkins before long, and they will be free to run as they will. We’ll also plant other vegetables there, long rows of kale and broccoli, perhaps. As for the raspberries, we will be doing some hasty work in the spring preparing yet another garden, this time well away from the path of the plow.

IMG_2256

Miss Bridie Chose a Shovel

Tags

, , , , , , , ,

IMG_1977

When Miss Bridie prepared for the trip which would take her to America in 1856, she could have taken with her a chiming clock or a porcelain figurine. Instead, she chose a shovel from the barn – a woman after my own heart.

This children’s book, written by Leslie Connor and illustrated with woodcuts by Mary Azarian, gardeners both, takes us along as Miss Bridie uses her shovel to help grow a new life in a new land.

Miss Bridie digs her first garden behind a shop where she finds a job, but soon is married and using her shovel to dig post holes for sheep and goat fences on their new farm. She builds a root cellar, shovels coal into her cookstove, and plants an orchard. When tragedy strikes, part of the farm is lost, but the shovel survives and is used to help rebuild.

We have those few possessions, don’t we, without which we cannot imagine carrying on as before. Often extraordinarily practical, these are the things we’ve used to build our lives. These are the things which fit perfectly into our hands, and our muscles know how to use them.

Sometimes when circumstances strip us bare, a hoe or a sewing machine or a pair of snowshoes can save us. Years ago, during a season of sadness, I remember thinking, “If I just have my bread bowl and my garden tools, I think I will be alright.”

IMG_2097

Bread bowl – a gift from my mother

An object can carry with it the memory of when we first learned to use it, and of the teacher. Without needing to recall the lessons with intention, our bodies remember with a grace of use reserved only for the things most at the heart of who we are.

IMG_2127

Singer Featherweight 221 portable sewing machine from my grandmother, who taught me to sew

So when Miss Bridie could have chosen a lovely remembrance from her old home, but took a shovel from a peg in the barn, I understand. I am, after all, the woman who, when offered a diamond engagement ring long ago, chose a woodstove instead.

IMG_2006

How to Make Seed Starting Pots from Recycled Newspapers

Tags

, , , , , , , , , , , , , , , ,

I knew there was something more I wanted to do before the ground froze and the snow fell. Now that starting seeds is on my mind, I remember. To make my own seed starting mix, I saved the very best, the finest, most decomposed compost, and it’s all right here:

IMG_1721

Compost pile frozen under the snow

Oh, the sadness, but this is the recipe:

4 Parts compost (screened to take out the lumps) – Compost helps the mix retain moisture and provides a slow, constant supply of nutrients to the seedlings.
1 Part Perlite – Perlite, available at many garden centers, is a volcanic glass. When quickly heated to a high temperature, it “pops”, forming sterile, lightweight and weed-free granules of neutral pH. Added to a seed starting mix, perlite provides the drainage necessary to help prevent “damping off”, a fungal disease which kills seedlings.
1 Part Vermiculite – Vermiculite is a naturally occurring mineral, which also “pops” when heated to a high temperature. Its granules contain tiny, open cells which retain air, moisture and nutrients, and release them as needed by the plant. Like perlite, it is sterile and pH neutral.
2 Parts Sphagnum Peat Moss – Peat moss adds bulk to the mix without adding weight and provides both good drainage and moisture retention.

There are many commercially available seed starting mixes. The ingredients should be listed on the bag. Read carefully, since many mixes contain chemical fertilizers. Organic mixes are another option, and can be found at garden centers and stores where seeds are sold.

Seeds can be started in just about any clean, shallow container with drainage holes in the bottom. It can be fun to buy elaborate seed starting systems or even simple peat pots, but it’s not necessary. A quick, economical choice is pots made from recycled newspapers. Give them a try. They’re fun, and each pot takes only about a minute to make:

1. Choose newspapers and a can, bottle or other round object the diameter of your desired pots. Avoid shiny pages.

2. Fold a single page lengthwise into thirds.

3. Choose the cleaner folds for the top of the pot (right side of photo) and the rougher edge for the bottom, then roll.

4. Turn the can upside down. Fold the rough ending-edge down.

Fold down the rough ending edge first

5. Finish folding down the bottom of the pot. You may tape the flaps if you wish, but the weight of the seed starting mix will be enough to keep the bottom closed and the pot upright.

6. Slip the pot from the can, fill with moistened seed starting mix, plant seeds and label.

Place the pots on a tray. They will become damp. Cover with plastic and give your seeds a warm place to germinate. When you see sprouts, uncover and move them to an area where they will receive plenty of light.

Newspaper pots also can be used for transplanting seedlings and can be planted directly into the garden. Remember to remove any tape from the pot before planting in the earth.

Whether you purchase seed starting mix and pots or make you own, plant a few extra seeds and share your young plants with neighbors and friends!

ChapStick and Five Other Gardening Essentials

Tags

, , , , , , , , , , , , ,

I have begun to believe there are two types of people – those of us who are addicted to lip balm, and those of you who are not. If you are uncertain to which group you belong, check your pockets now. If you find a tube of something to apply to your lips, chances are you’re with me.

IMG_1548

A quick rummage through pockets, bags and drawers gathered this embarrassingly large assortment of lip balm.

An affinity for lip moisturizers seems not limited to humans. Years ago when our Boston Terrier puppy friend visited, he ate a ChapStick belonging to our daughter, Hannah. The tale of Willie’s supple lips continues in family lore to this day.

cropped-willie

Willie, puzzled by Hannah’s outrage

How, you might wonder, is lip balm relevant to this list of gardening essentials. A preference for objects of small size and high function provides inspiration for my first item of garden must-haves.

1. The Perfect Knife

Last summer, when I mentioned to my husband that a simple pocket knife “no bigger than a ChapStick”, would be helpful, he found the perfect knife – small, but orange and easy to see if I dropped it onto the ground.

IMG_1567

2. Comfortable, Functional Footwear 

It’s essential for this happy gardener to have happy feet, and that requires three kinds of footwear. Most frequently I can be found in my beloved old wood and leather clogs, many times repaired. My mud boots are simple and black. Work boots, which fit so well I believe they were made just for me, complete the trio.

IMG_1583

3. Premium Ground Cover – The Right Garden Mulch

As the gardens here on our land grow in size and number, I’m challenged with the task of working more efficiently. This land is my work, and we want to make a life and a living here. Finding ways to spend less time weeding and watering has been critical, and mulch (www.PremiumGroundCover.com) has proven to be a solution. The soil is well nourished as the mulch decomposes during the growing season. Soil, not carrots, onions or herbs, always is our first and most important crop.

IMG_0729

One day’s harvest

4. A Favorite Tool

My oldest tool, a three-pronged cultivator, originally may have had a long handle. It has been with me so long that I don’t even remember where I got it, but it was old even then. Somewhere in its lifetime, someone wanted to kneel and scratch the earth, so the handle was sawed, and it suits me well.

IMG_1597

5. The Best Partner

I’m blessed to be on this journey with a good-natured husband, who shares my constant longings for a few more fruit trees and bushes, a bigger garden here, another garden there. He’s willing and cheerful and often silly, and he works hard away from the farm so I can be here doing what makes me happiest. Then he comes back home to help. With a common vision, we work this land together, and that, we believe, is what’s most essential.

img_0957-tim-tilling

Tim breaking ground for another garden